Back from a business trip and lots of packages have arrived in the post while I was away. Only a couple of the packages were for immediate mods to the bike so here is a brief description and photos of what was done today.
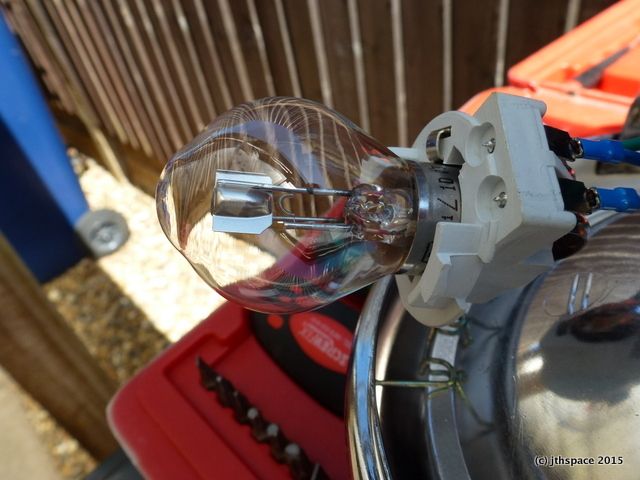
New headlight bulb. The current bulb is a 35w/35w standard Bosch BA20d bulb fitting, brightness rating "dim".
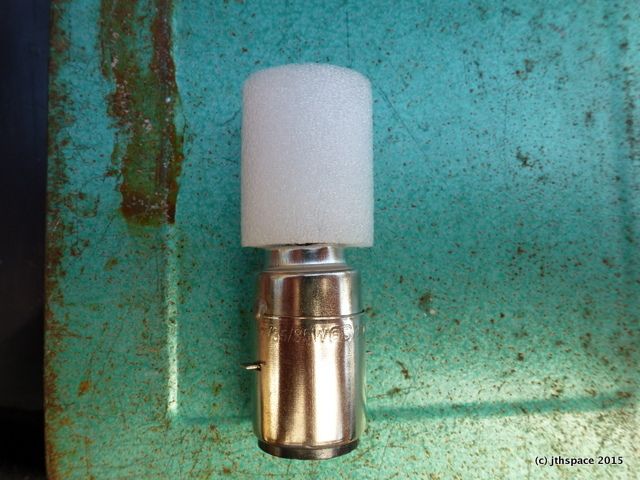
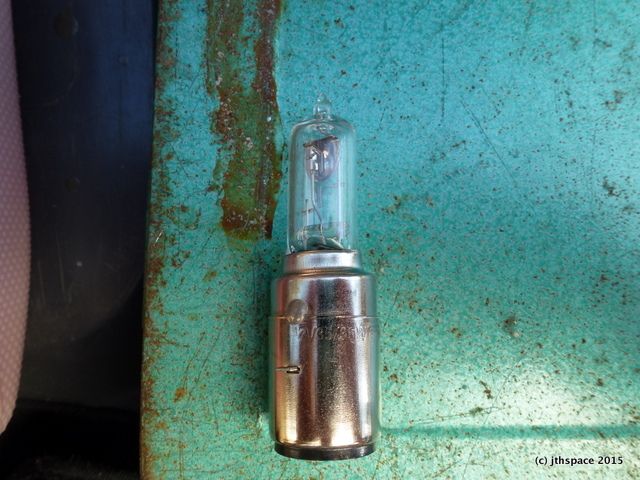
The new bulb is a 35w/35w halogen bulb and cost £5 / $8 from eBay
It came with a protective hood so that you can handle the bulb without touching the glass. Oil from a fingerprint will cause the bulb to blow.
With hood removed . . . background is the lid of a metric/imperial socket set I bought with my first Honda C50 back in the dark days of the late sixties.
Here it is fitted. I tested the headlight but only main beam came on. Immediate thought was the bulb was DOA. Looking at the bulb connector carefully, I noticed it has bent back a little so was not making contact with the bulb. The metal prong is as thin as paper and has no "spring" to it, so I took the bulb out and carefully pushed the connectors inwards so the bulb would be a press fit againt the tabs when refitted. Tested and all worked O.K.
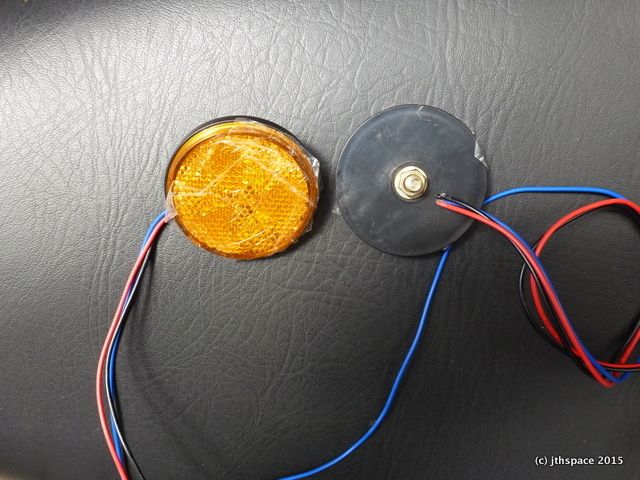
As I posted in another thread, I also got some yellow side reflectors that had LED's fitted. They came with three wires - connect blue and black and you get a "dim" set of LED's lighting up, connect the red wire and they go bright - like a brake light but yellow. So, immediate thought was to connect the "dim" side to the sidelight circuit and the red wire to the indicators, giving me yellow side riding light and side indicators at the same time.
They are not cracked, they are covered in sticky tape
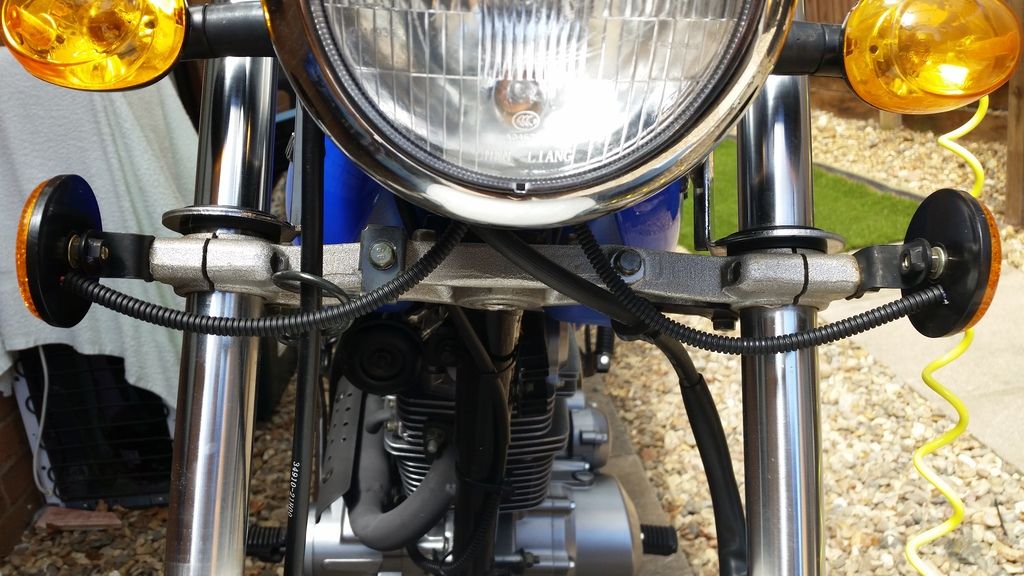
To keep the wiring tidy, I bought some sheath - it is 7mm outside diametre and made of hard flexible plastic. Cost very little. Here you can see the wiring threaded through the sheath.
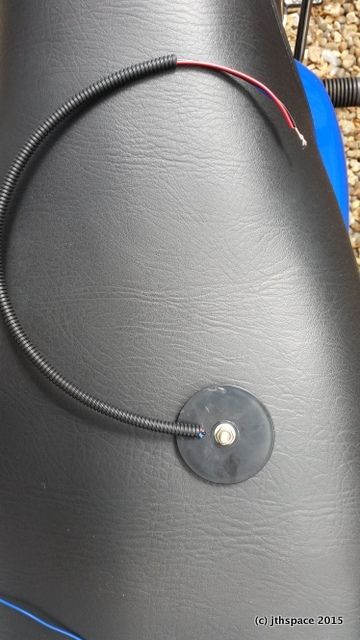
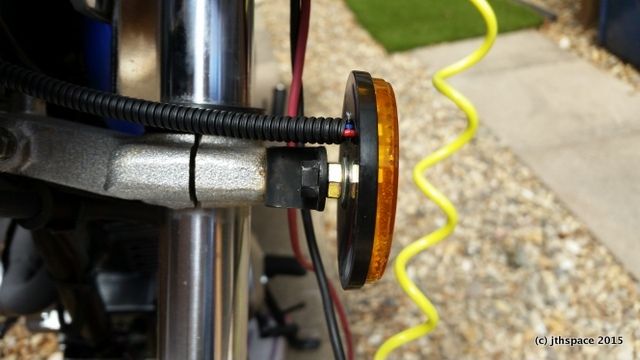
Here it is fitted to the same bracket that the standard side reflectors were mounted to. After taking the photo, I blobbed a dollop of sealant over the end of the sheath to make it waterproof.
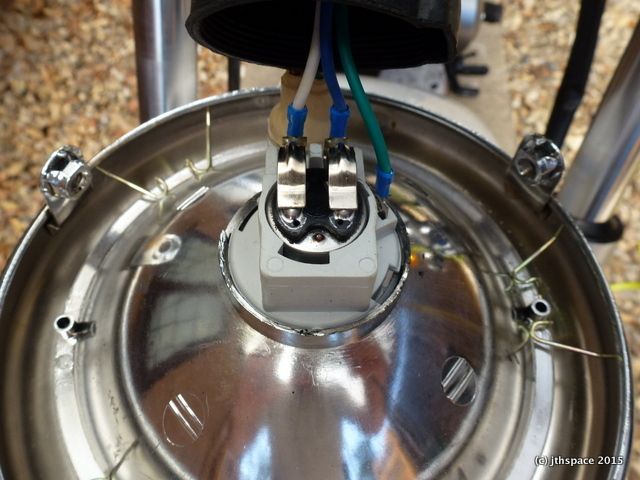
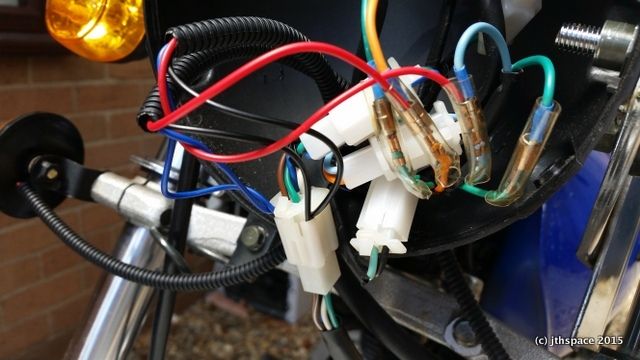
This is the wiring inside of the headlamp. It is quite crowded as the headlamp casing is shallow. You can just make out the headlight plug and socket and the blue and black wires connected to the "side light". The wires are threaded into the socket and the plug pushed together. I chose this method as the wires are so fine, anything thicker and I would have spliced them. The red wires to the indicators are threaded through the bullet connection and reinserted.
Finished front view showing the sheathing and it disappearing into the headlamp shell.
Unfortunately it is very sunny today (for taking photo's, not for riding . . . ) so the yellow side lights and the LED's on/flashing do not show in a photo. But for the few £'s they cost on eBay, they are an extra light that car drivers may just see . . . .
Ride Safely!
Jeff