 01-13-2012, 09:54 PM
|
#33 |
|
Join Date: Sep 2011
Location: North Georgia (Gainesville)
Posts: 48
|
That is what I was thinking.
Still waiting on the rebuild kit. I've decided that I'm just going to start with the head gasket replacement. This should get me running long enough to purchase another bike. After that, I'll decide whether I want to rebuild the entire top end or not. (unless I get it all apart and the rings, piston, and cylinder are totally shredded!) |

|
|
01-14-2012, 12:30 PM
|
#34 |

Join Date: Mar 2009
Location: Southeastern Washington desert
Posts: 14,761
|
I never got mine all the way apart. I discovered I couldn't remove the head with the engine in the frame. At that point, for my project, I decided it was more trouble than it was worth and sold it as is (was?) :roll:
All I know is the valves were in spec and there was still little compression, maybe 75 PSI max, and the motor would not start as a consequence.
__________________
Happy to serve. |
|
|
|
01-24-2012, 10:01 PM
|
#35 |
|
Join Date: Sep 2011
Location: North Georgia (Gainesville)
Posts: 48
|
UPDATE!
I received some of my parts today and plan to be tackling this through the week.
On an even better note, I got my hands on a legitimate service manual for this exact model. (not some random bike that is "close") I will be working on making this available to zongshen storm owners! Will update soon again![/u] |
|
|
|
01-27-2012, 02:16 PM
|
#37 |
|
Join Date: Sep 2011
Location: North Georgia (Gainesville)
Posts: 48
|
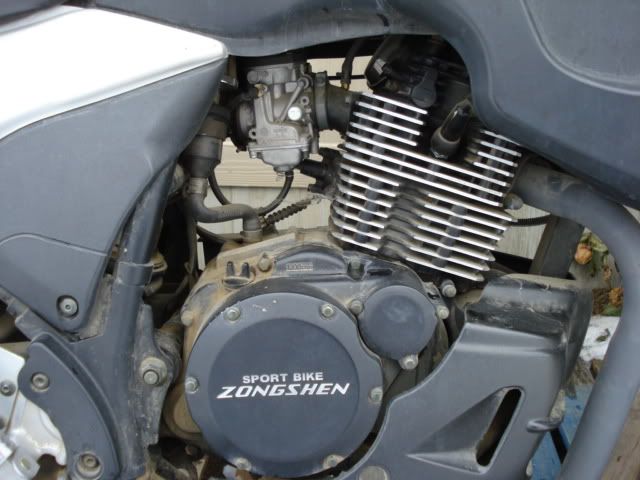
So last night I began working on this. I pulled the motor out
of the frame. Which wasn't as difficult as I thought. It's held in with less than 10 bolts. I was working alone though so it was a bit awkward at times. The main bolt that actually holds the engine and the entire swing arm was the most difficult one. There are lots of cables that must be disconnected prior to removing the engine and you want to make sure to drain the oil before you start messing with anything unless you prefer a big mess. I didn't get to take as many photos as I would have liked, because my sister is borrowing my dslr. I snapped a few for reference with my cell phone though. Once I got the engine removed it was fairly simple to remove the sproket in the head, the chain tensioner, and the head itself. What I found after further inspection, is that the gasket was definitely bad and the valves were not seating correctly. They have a good bit of deposit caked onto them. The piston is showing the same symptoms. I will be attempting to clean them both tonight more than likely. Any tips for removing the carbon deposits? Questions comments? Â  Â Â 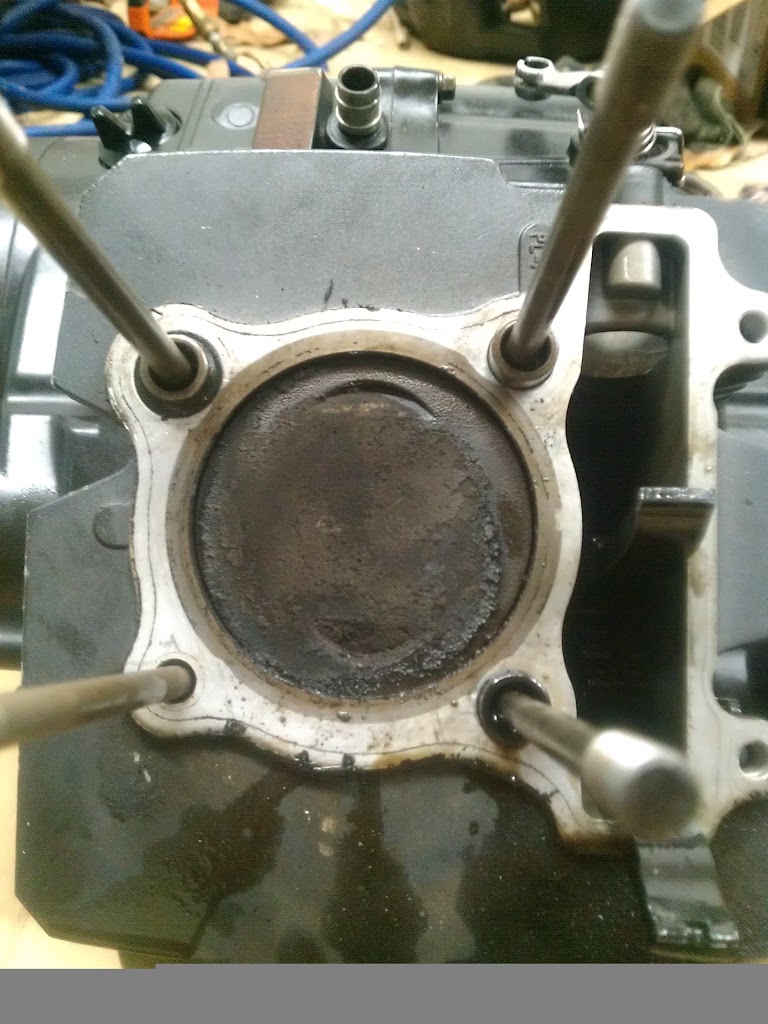 Â Â
|
|
|
|
01-27-2012, 02:24 PM
|
#38 |
|
Join Date: Sep 2011
Location: North Georgia (Gainesville)
Posts: 48
|
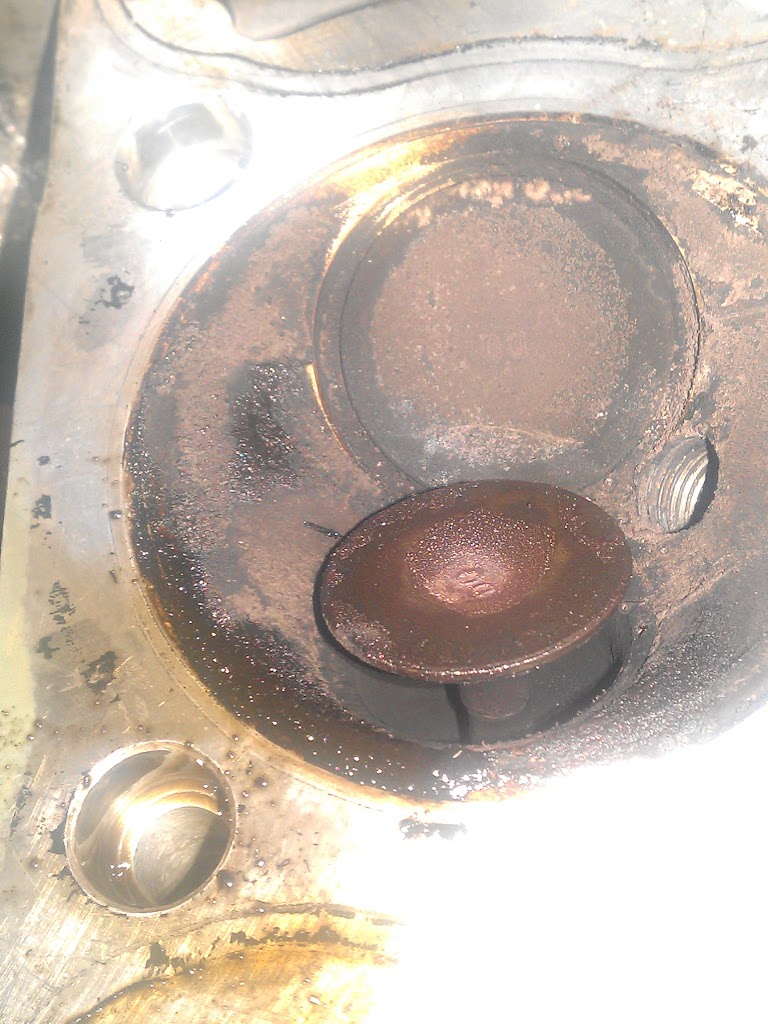
This is another view of the valves
|
|
|
|
01-27-2012, 02:32 PM
|
#39 |
|
Join Date: Sep 2011
Location: North Georgia (Gainesville)
Posts: 48
|
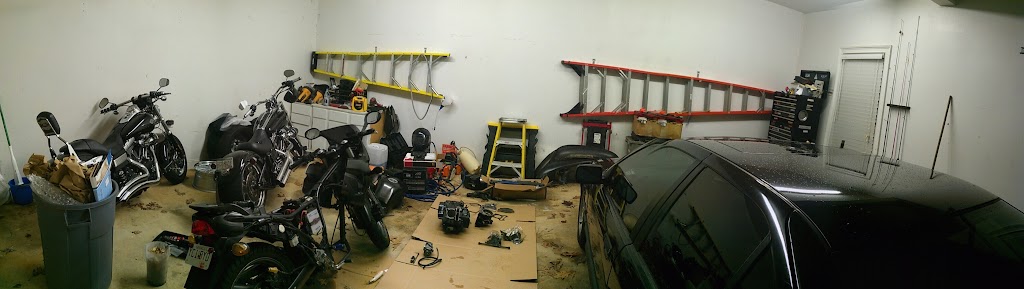
Just for fun
|
|
|
|
01-27-2012, 05:07 PM
|
#41 |
|
Join Date: Sep 2011
Location: North Georgia (Gainesville)
Posts: 48
|
thanks doc, I'm certainly hoping this will solve most of my issues. I don't wish to become frustrated with this project.
Also, for reference, |
|
|
|
01-27-2012, 05:38 PM
|
#44 |
|
Join Date: Sep 2011
Location: North Georgia (Gainesville)
Posts: 48
|
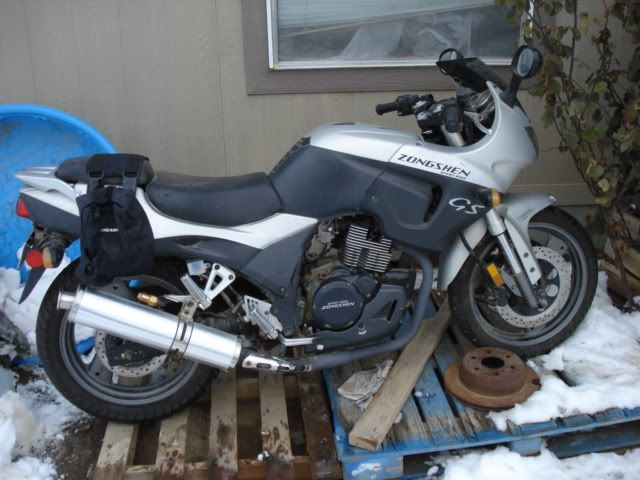
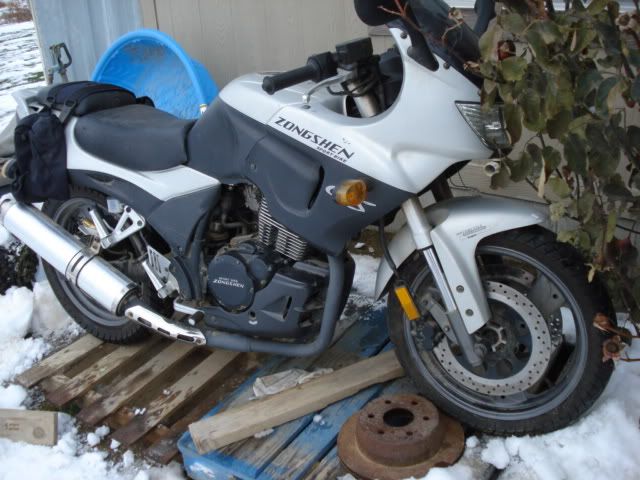
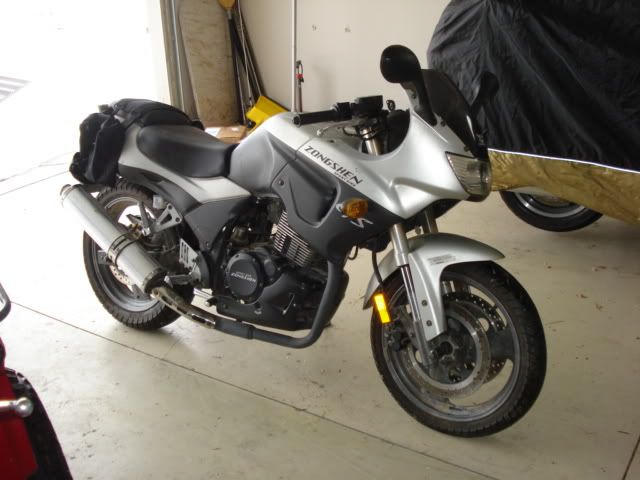
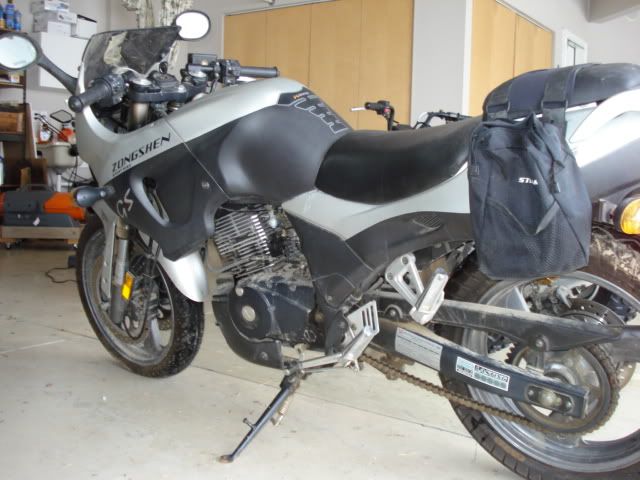
It's still a sharp looking bike nonetheless. As for the comfort, its the most comfortable bike I've ever ridden. The pegs are a couple inches high for me, but I've got long legs. The seat isn't as intrusive as others are. 8O it just needs a bit more power. I do hope that I will gain quite a bit once this all sorted out.
|
|
|
|
01-28-2012, 01:15 PM
|
#45 |

Join Date: Mar 2009
Location: Sardis, BC, Canada
Posts: 25,977
|
If you have a bench grinder, see if you can find a brass wire wheel for it. Make sure it's actually brass and not brass coloured; try a magnet on it.
A brass wire wheel would be suitable for removing the carbon from the valves without removing the coating. Once the valves are clean, you can inspect them to confirm that the seating area is in good order. If it is not, you can lap the valves in by hand. A nylox brush in a drill would be a good solution for removing the carbon from the combustion chamber. All of this assumes that you have a valve spring compressor that will allow removal of the valves. If you choose to use a nylox brush in a drill to remove the carbon from the piston top, place a shop vac hose right above the piston to remove chunks as they are removed. It's imperative that the schrapnel isn't allowed to fall onto the rings and remain there. Once the piston is perfectly clean, you could polish the piston top with a dremel and some white polishing compound, so as to prevent a porous area for carbon to collect in the future.
__________________
Weldangrind "I figure I'm well-prepared for coping with a bike that comes from the factory with unresolved issues and that rewards the self-reliant owner." - Buccaneer |
|
|
|
|

|
 |
|
|


 Linear Mode

