|
|
#46 |
|
Join Date: Mar 2009
Location: Sardis, BC, Canada
Posts: 25,977
|
I moved forward a bit today.
I spent a considerable amount of time on the rat's nest today, and I think I have it sorted. The connector for the rear brake switch was in bad shape and the wires were too brittle, so I cut it back and spliced in a connector that I had on hand. It's not the original type, but it'll do. 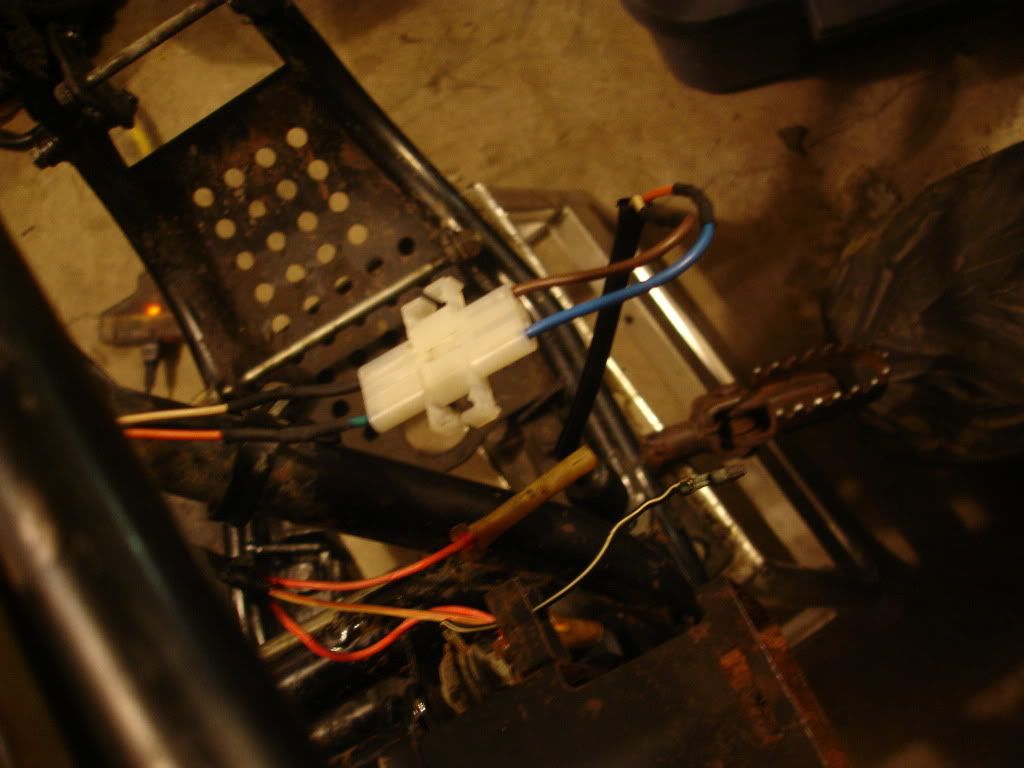 I also soldered in a new fuse holder, since the original was broken. It's overkill, but I had it in stock. 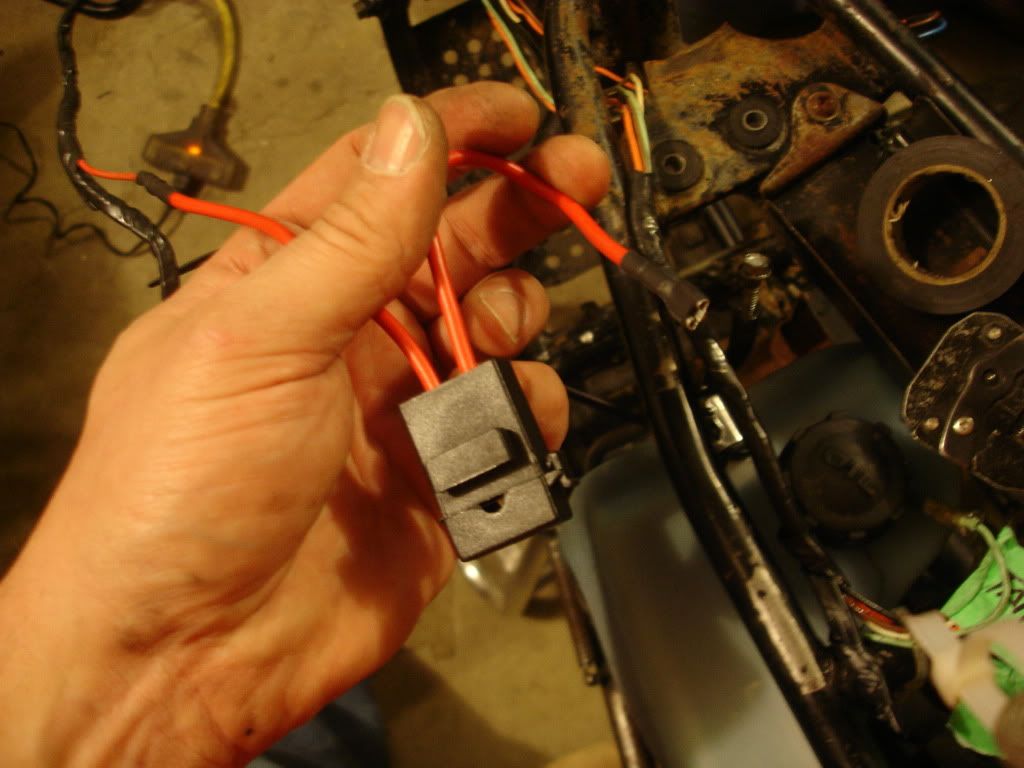 I discovered that there is an orange factory wire that is hot when the key is on, and it was routed to where the tail light wires go. I've found and labeled the signal, brake and tail light wires, so this wire is a bit of a mystery. As well, I found two factory connectors in the headlight that don't connect to anything. I can't imagine what those would be for, because everything else is accounted for. Any thoughts? Also, I can't get the signal flasher to flash unless I'm tapping it with a small hammer. The lights illuminate, but it only clicks and flashes with persuasion. There is no engine in the frame right now, but I expect that the flasher should work on the battery alone. Any comments? After some closer examination, I found that the spark arrestor had separated from the nozzle, so all I had to do was coax the spark arrestor out of the muffler body. It was gross. 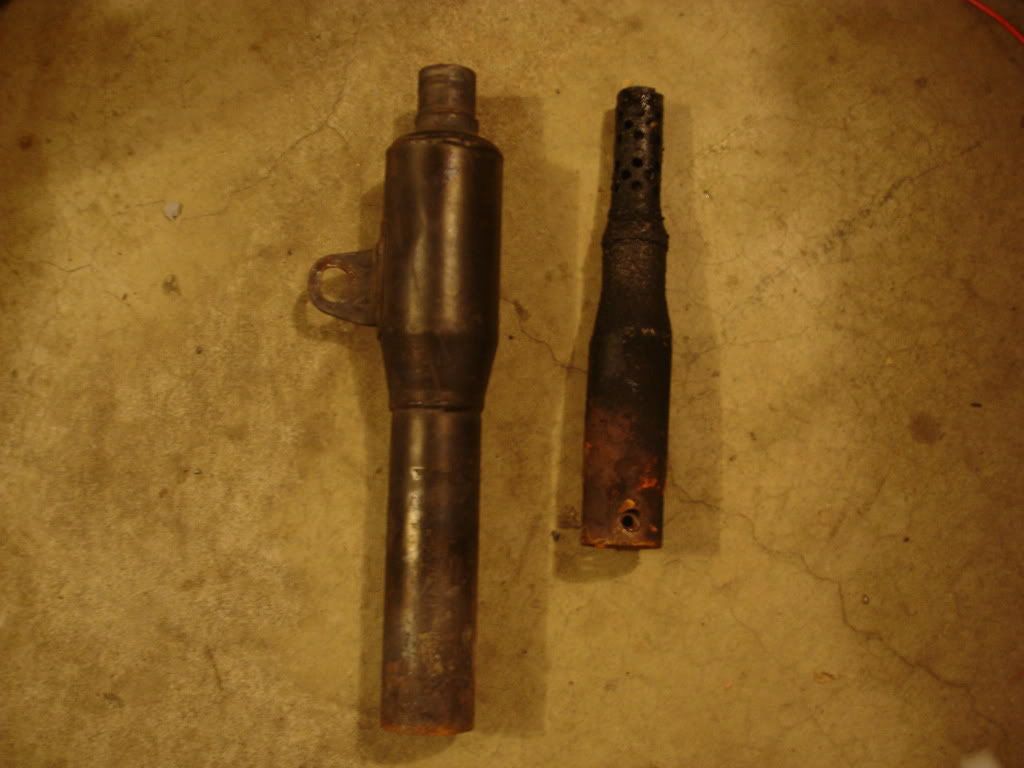 I burned the spark arrestor and muffler body (again), and the muffler actually caught fire! Both items cleaned up nicely. 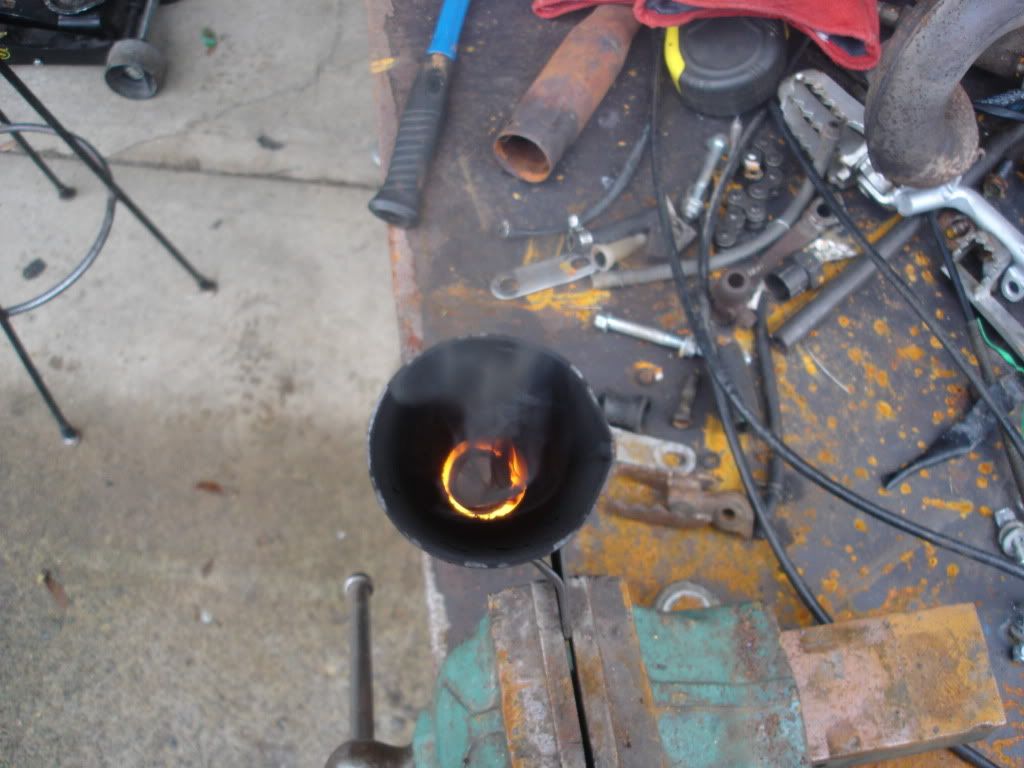 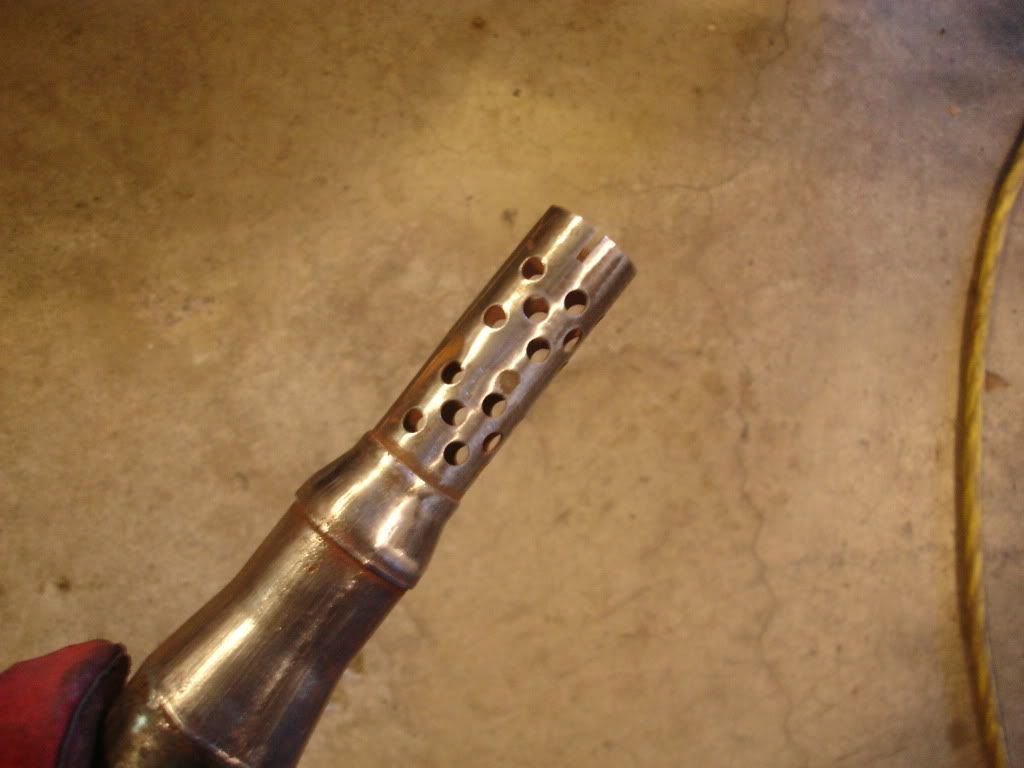 I also spent some time cleaning the frame, since the engine was out of the way. Much left to do, but it's coming along nicely.
__________________
Weldangrind "I figure I'm well-prepared for coping with a bike that comes from the factory with unresolved issues and that rewards the self-reliant owner." - Buccaneer |

|
|
|
#47 |
|
Join Date: Mar 2009
Location: Sardis, BC, Canada
Posts: 25,977
|
I found a few spare minutes to play with the bike, so I painted the muffler housing, spout and expansion chamber. I didn't see any sense in painting the baffle / spark arrestor, since those parts will be covered with oil soon enough. I also rooted through my junk and found socket head cap screws to fasten the baffle to the spout and the spout to the housing.
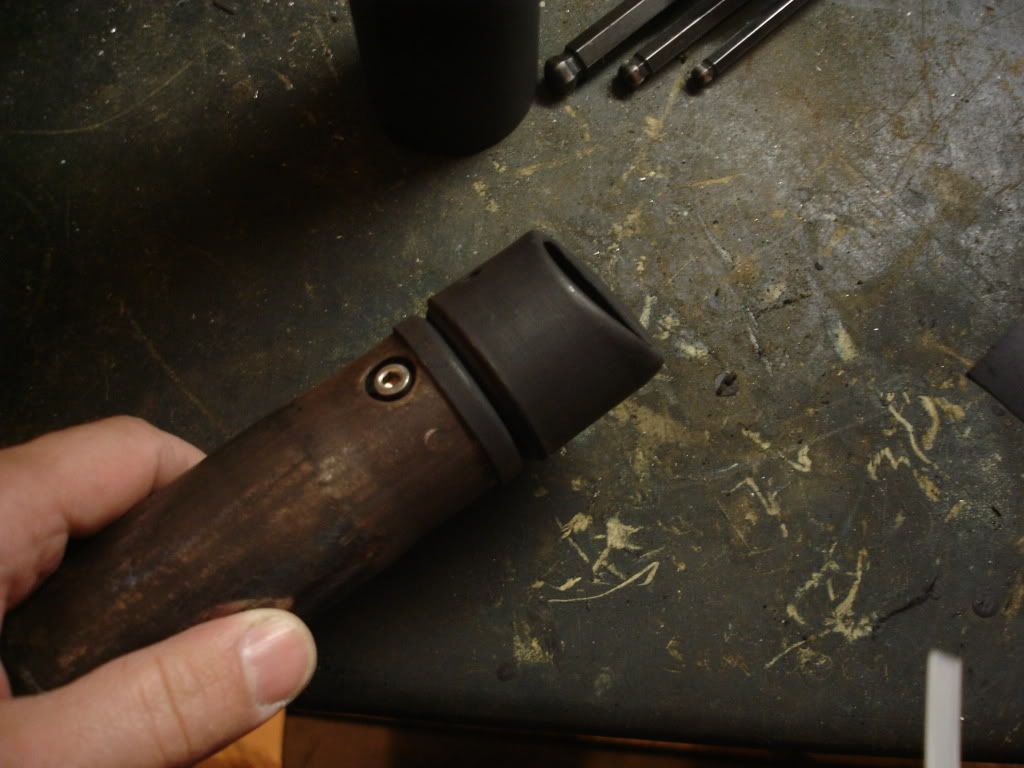 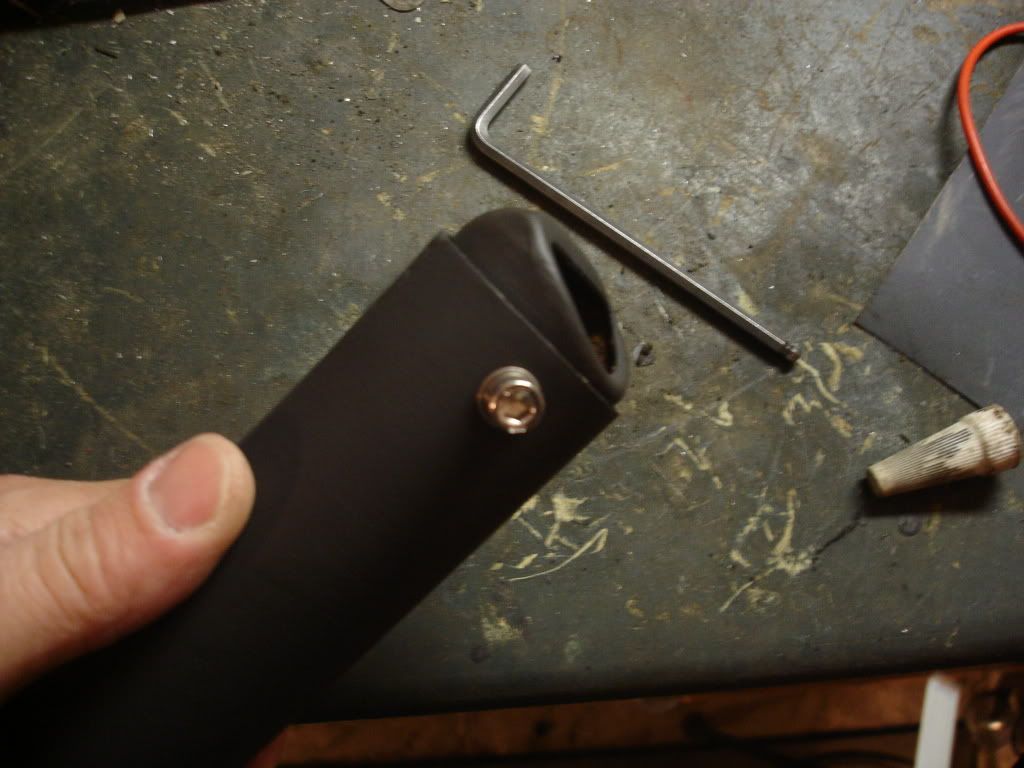 The complete muffler and expansion chamber are hanging in the furnace room, hopefully curing. It's a little cold in the shop at night for paint to cure. I also played with the signal flasher, because it would only flash if I tapped it, despite being connected to two bulbs. I found a simple electromagnet inside, along with an 18ohm resistor. The resistor measures properly, so I suspect it's just a matter of applying additional load to the flasher. The indicator light is burned out, and I suspect it would provide the required load. Any thoughts, anybody? 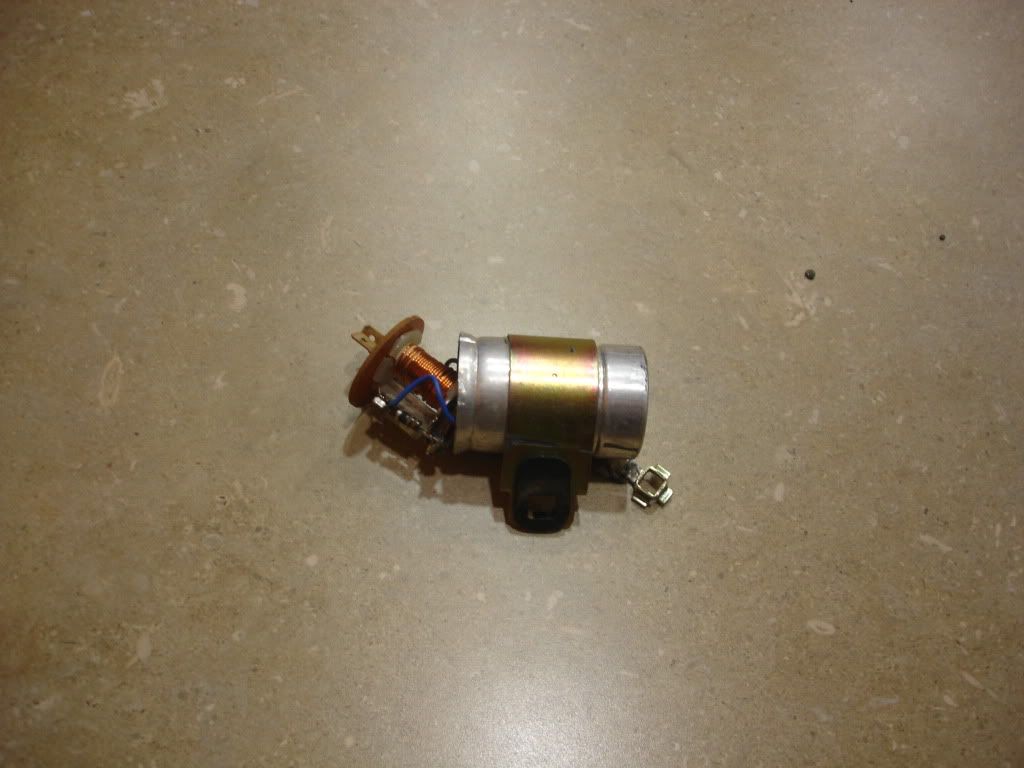
__________________
Weldangrind "I figure I'm well-prepared for coping with a bike that comes from the factory with unresolved issues and that rewards the self-reliant owner." - Buccaneer |

|
|
|
#48 |
|
Join Date: Mar 2009
Location: Southeastern Washington desert
Posts: 14,761
|
Great thread Weld, I'm really enjoying following it
I've had bike flashers that would only work properly with the engine running. A new flasher at the autoparts store should only be $10 or so though... That's what I did with the XS400 I restored a couple of years ago.
__________________
Happy to serve. |

|
|
|
#49 |
|
Join Date: Mar 2009
Location: Sardis, BC, Canada
Posts: 25,977
|
Thanks Doc! I hadn't thought of that; it's been so many years since I had a street bike, it hadn't occurred to me that all might be well with the engine running. I'll put this part of the project off until I get the engine back in.
As you say, a new flasher might be the ticket, but that's only if I can find a 6v flasher for cheap.
__________________
Weldangrind "I figure I'm well-prepared for coping with a bike that comes from the factory with unresolved issues and that rewards the self-reliant owner." - Buccaneer |

|
|
|
#50 | |
|
Join Date: Mar 2009
Location: Southeastern Washington desert
Posts: 14,761
|
Quote:
__________________
Happy to serve. |
|

|
|
|
#51 |
|
Join Date: Mar 2010
Location: Volcano, Ca
Posts: 7,104
|
Hey W&G! Found you a great parts bike! Kinda far away though.....
http://sacramento.craigslist.org/mcy/2673861095.html
__________________
"Light a fire for a man, and you heat him for a day. Light a man on fire, and you heat him for the rest of his life." 2007 Suzuki DRZ400S (SM convert) 2009 Q Link XP 200 1967 BSA B25 250cc Starfire 2022 Royal Enfield Interceptor 650 2023 Royal Enfield Scram 411 1948 Royal Enfield Model G 350 |

|
|
|
#52 |
|
Join Date: Mar 2009
Location: Sardis, BC, Canada
Posts: 25,977
|
The ad was flagged before I saw it. Bummer.
__________________
Weldangrind "I figure I'm well-prepared for coping with a bike that comes from the factory with unresolved issues and that rewards the self-reliant owner." - Buccaneer |

|
|
|
#53 |
|
Join Date: Mar 2009
Location: Sardis, BC, Canada
Posts: 25,977
|
I found a few more minutes this evening, so I removed the fork tubes and the headlight / front signal supports. I spent a bit of time with the supports at the vise and straightened them; it looks as though the bike has been crashed on both sides, as neither signal pointed forward. They do now.
I re-packed the steering bearings, and I'll go on record and say that I hate loose ball bearings. I'd much rather have tapered rollers. Nevertheless, the bearings are smooth now with no play. I also installed the new aluminum bars I picked up and reconnected the front signals and switches. I got a new countershaft and shifter shaft seal the other day, so I'll do those next, along with install the new dual sport tires. I also spotted some Valspar sparay paint at the local auto parts store, and they carry Kubota orange, which is remarkably close to '77 TS185 orange. I'll grab some when next in the store. While at another store, I found semi-gloss heat paint, so I'll use that for the engine.
__________________
Weldangrind "I figure I'm well-prepared for coping with a bike that comes from the factory with unresolved issues and that rewards the self-reliant owner." - Buccaneer |

|
|
|
#54 |
|
Join Date: Mar 2009
Location: Southeastern Washington desert
Posts: 14,761
|
Sounds like excellent and very rewarding progress, Weld
For loose ball bearings I use a very thick wheel bearing grease and hope I didn't lose too many :roll: . You can usually change to tapered caged, but I don't know if they are made for your bike. On the other hand it's unlikely you'll ever have to address them on this bike ever again. Good work!
__________________
Happy to serve. |

|
|
|
#55 |
|
Join Date: Mar 2009
Location: Sardis, BC, Canada
Posts: 25,977
|
Yeah, I thought about that. I know that they're available for the XL250, but I didn't bother to search for the TS185. Like you said, I just gooped 'em up with thick bearing grease.
__________________
Weldangrind "I figure I'm well-prepared for coping with a bike that comes from the factory with unresolved issues and that rewards the self-reliant owner." - Buccaneer |

|
|
|
#56 |
|
Join Date: Mar 2009
Location: Sardis, BC, Canada
Posts: 25,977
|
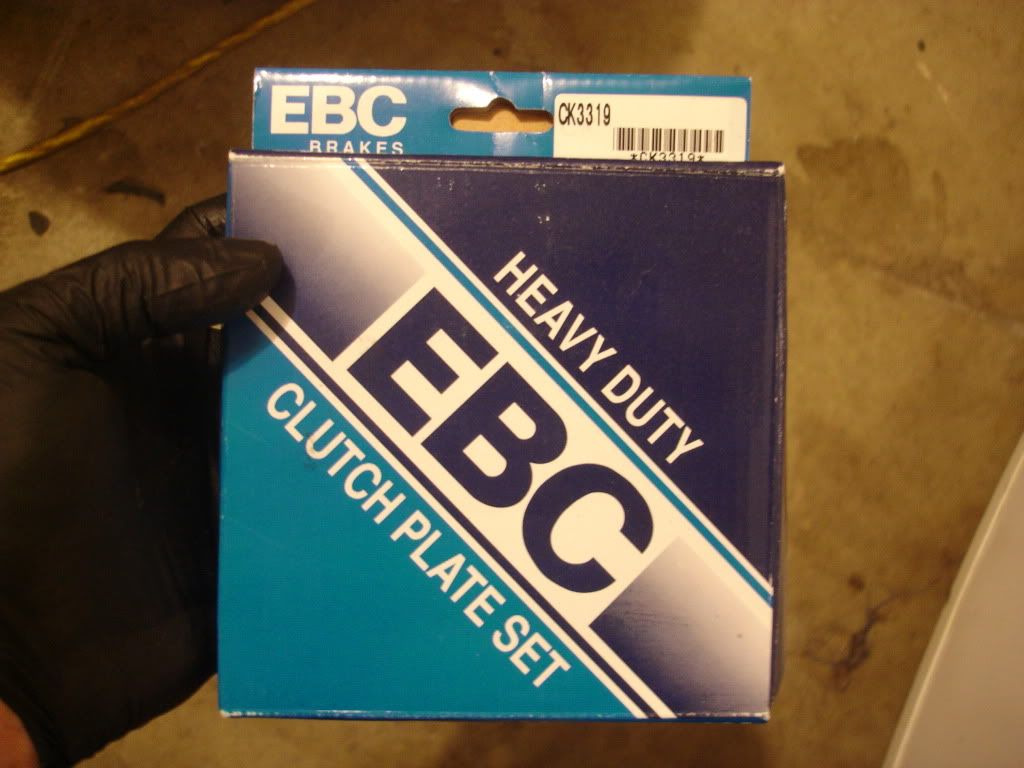
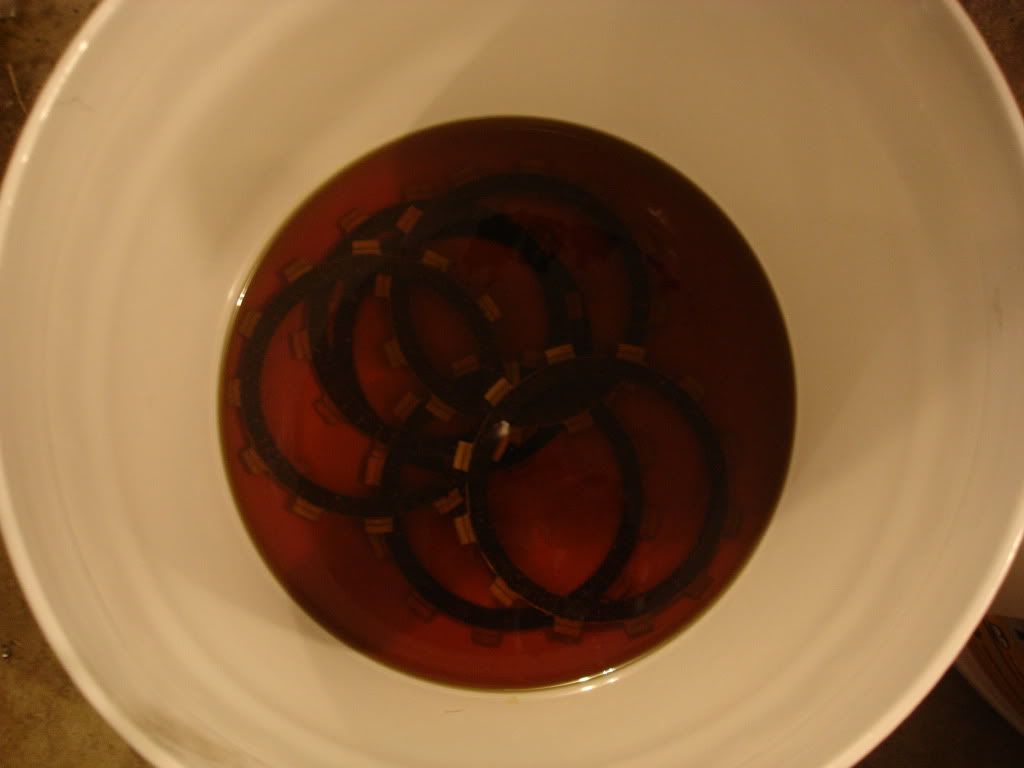
Not much progress today. I got my new clutch discs in the mail (intended for a 1980 DS185, but I took a chance), and they're marinating in Rotella T 15W40. I pulled the pins out of the springs and dismantled the clutch; it looks really good. None of the plates are warped, and the basket has no jagged edges.
  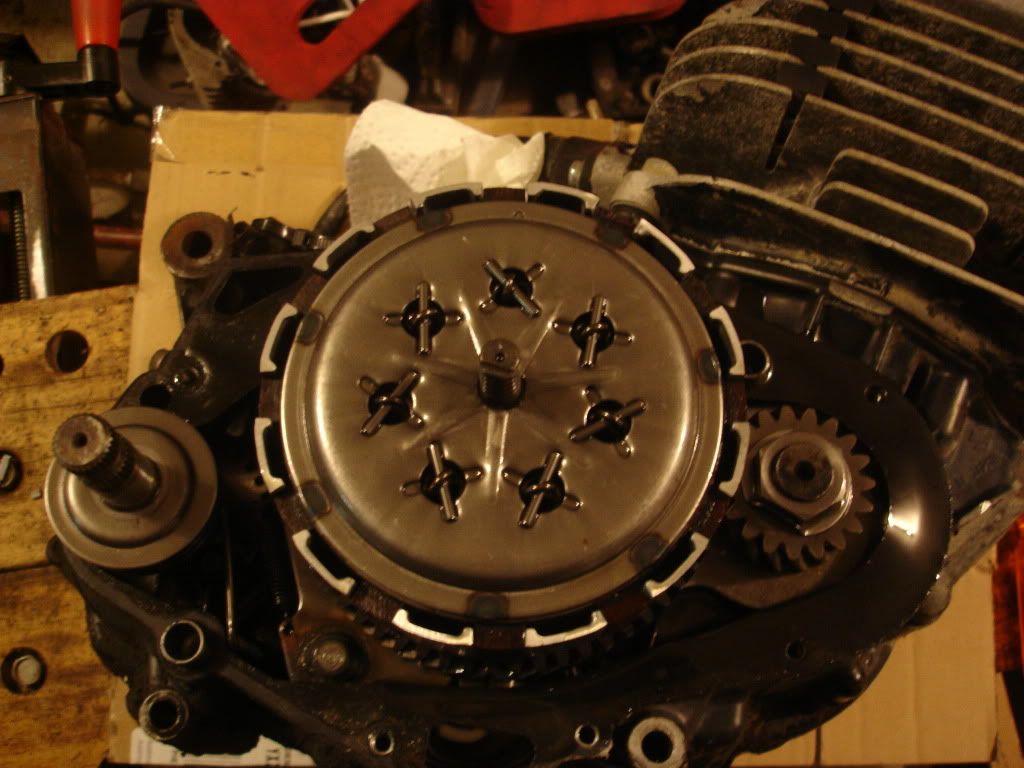 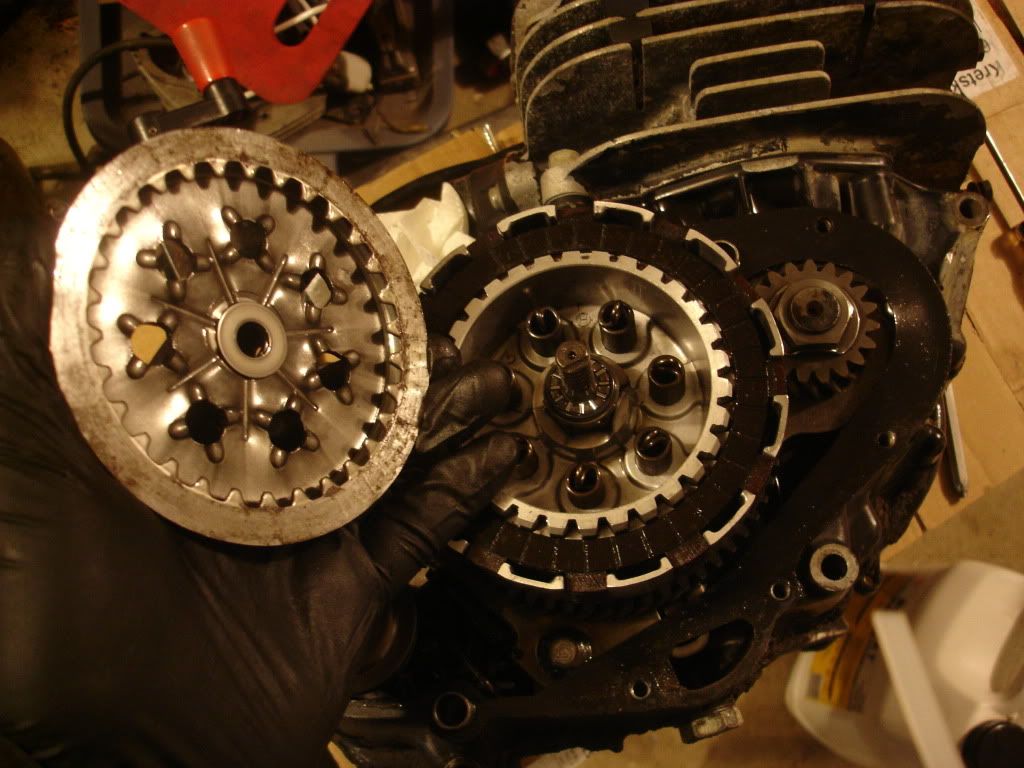 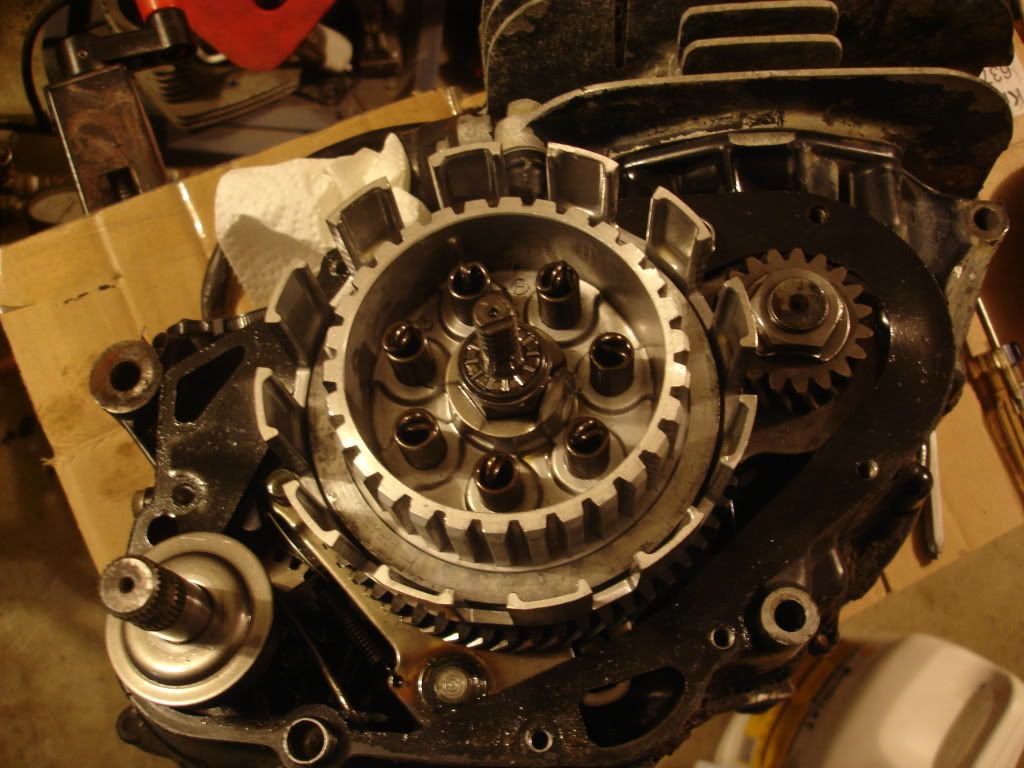 I gotta find / fabricate a decent spring puller for the reassembly process, but I'm not in a hurry. There's no rush until the gasket kit I ordered arrives. In the meantime, I'm gonna clean up the case and replace the countershaft seal and shifter seal; those were less than $10.00 for the pair from Precise Bearing.
__________________
Weldangrind "I figure I'm well-prepared for coping with a bike that comes from the factory with unresolved issues and that rewards the self-reliant owner." - Buccaneer |

|
|
|
#57 |
|
Join Date: Mar 2009
Location: Sardis, BC, Canada
Posts: 25,977
|
I've been studying the exhaust connection at the cylinder head of my '77 TS185, and I'm wondering if I can improve upon it. The original design has the pipe slip into the head with a collar over it, as a disconnected flange. The pipe is primarily held in place with a spring. I want to know if I can fit everything together, tack weld the pipe to the flange, and then remove it for finish welding.
Any thoughts on that? It would seem to be easier to seal exhaust gases with a gasket under a flange that could be tightly bolted in place, similar to a four stroke. Alternatively, perhaps I could weld a collar to the outside of the pipe for the flange to bear against, accomplishing the same thing. I'm grateful for any comments.
__________________
Weldangrind "I figure I'm well-prepared for coping with a bike that comes from the factory with unresolved issues and that rewards the self-reliant owner." - Buccaneer |

|
|
|
#58 |
|
Join Date: Mar 2009
Location: Sardis, BC, Canada
Posts: 25,977
|
I took the day off and focused on the 185. I changed the countershaft and shifters seals, cleaned and painted the engine and frame, installed two new tires, installed new wheel bearings, Installed a new rear sprocket, serviced the speedometer drive, cleaned and painted the rear shocks and de-rusted the battery box. I installed the new clutch discs last night.
These are the new seals I bought at Precise Bearing in Abbotsford, BC. They cost me less than $10 for the pair: 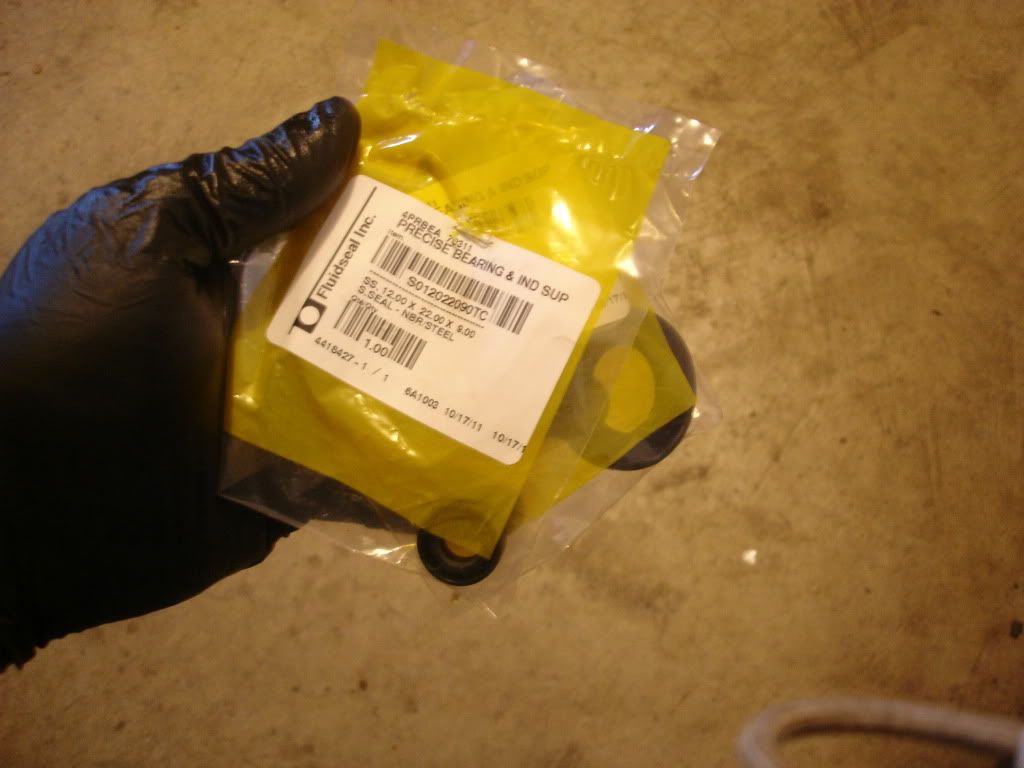 Here's my removal method; just drill a small hole and slowly insert a small wood screw into the hole. I then clamp Vise Grips onto the screw and slowly lever it out. This is a shot of the screw awaiting removal: 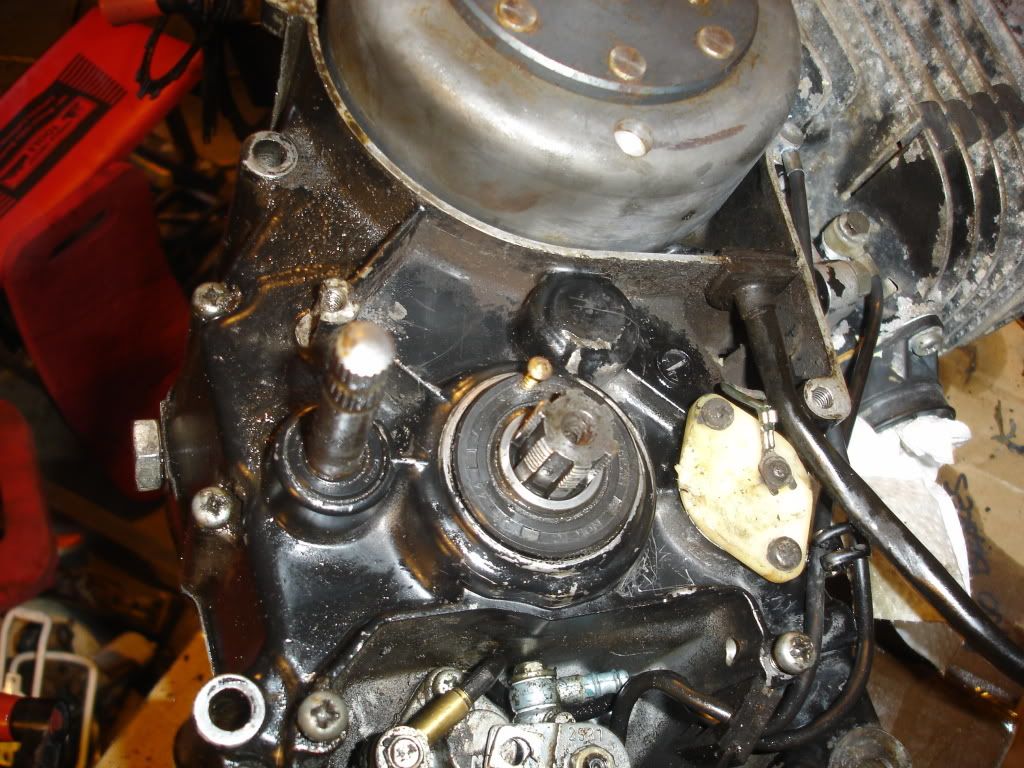 The lump doesn't look great with a flash, but it looks ok in natural light with the new paint. The conditions were nearly opposite of ideal for painting, but I cheated with a heat gun. it is heat paint, after all. 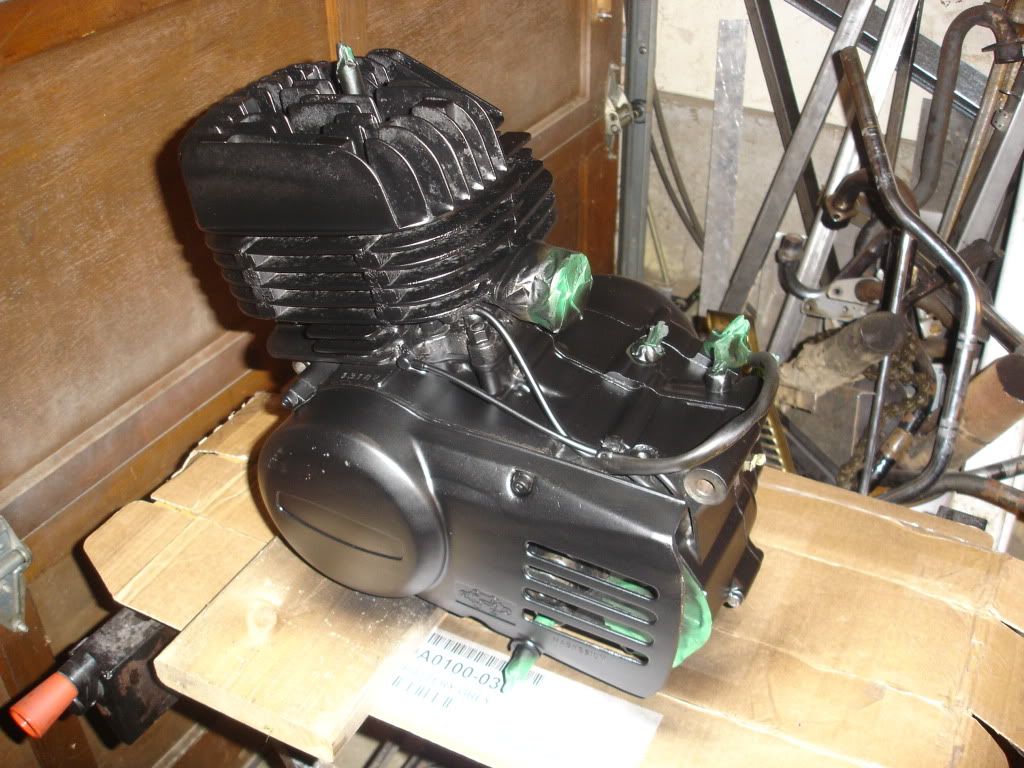 I was surprised at the condition of the rear brakes; it looks as though they've been recently replaced. I'll just clean 'em up. 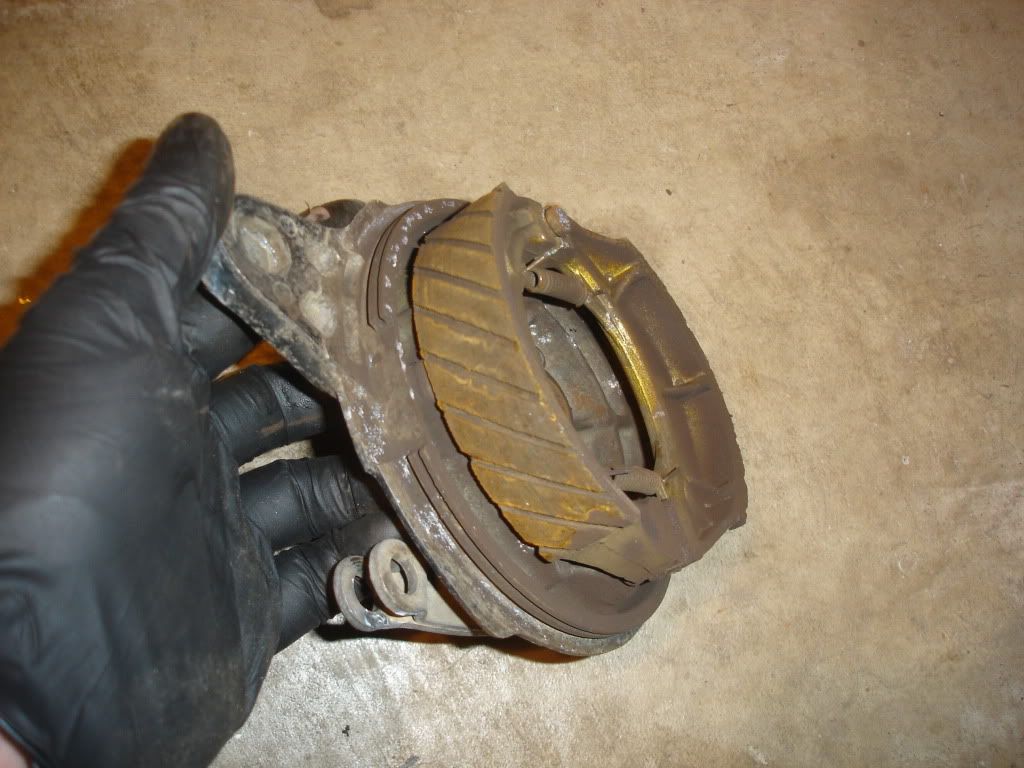 This is a trick I learned on a Suzuki forum. If you need to install / remove a strong spring (like for a kickstand), insert a bunch of small washers or small coins between the coils. After enough washers are inserted, the spring length will have grown to the point where it's easy to remove / install the spring. Sorry for the blurry pic: 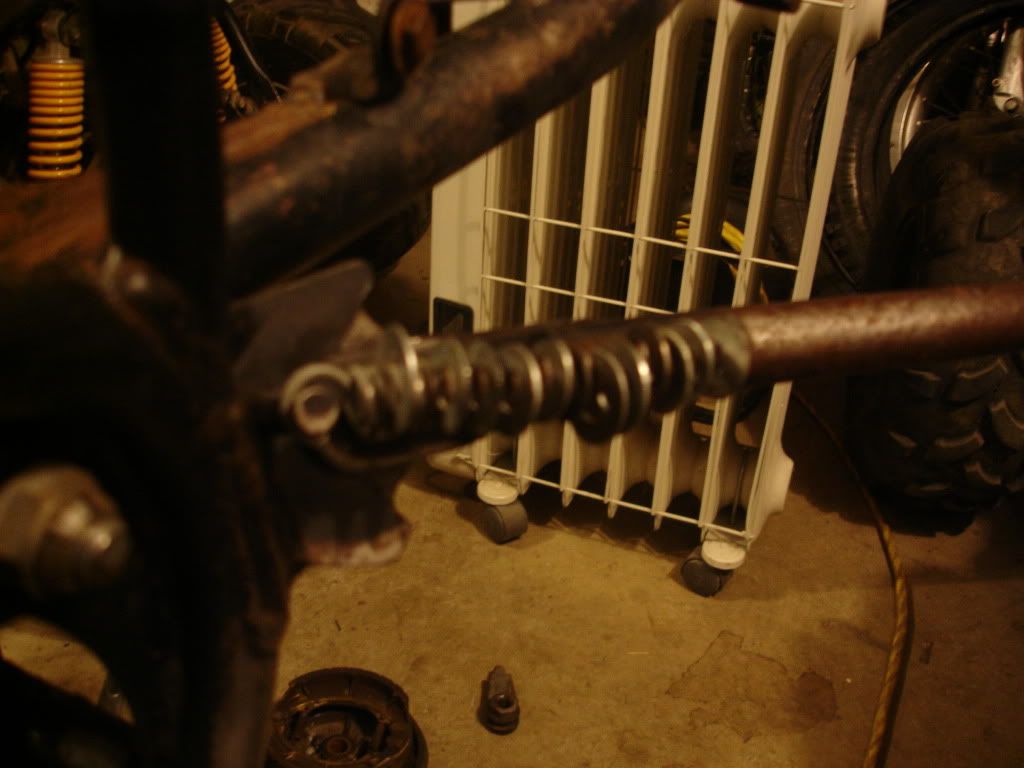 Like most battery boxes, this one is very rusty. I decided to try the electrolytic de-rusting method. The rust was very deep due to years of acid contact, so the results weren't as immediate as my exhaust pipe experiment. Plus, I tried it with a one amp battery charger today, not a 10 amp type. This is the before shot: 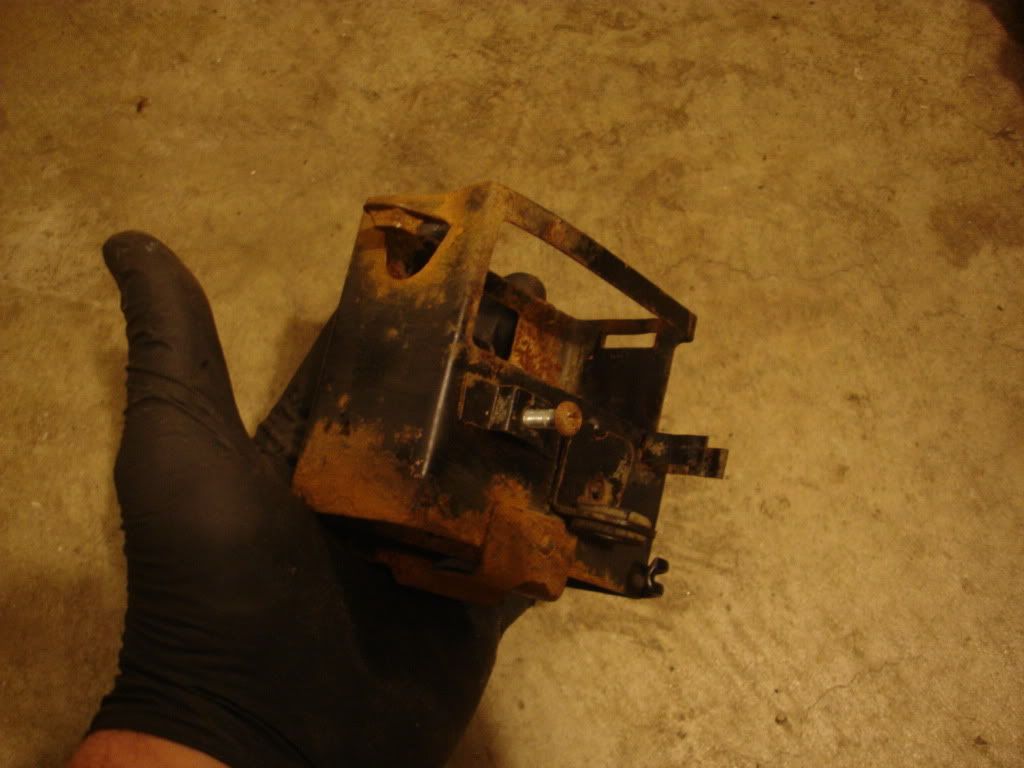 For the unfamiliar, I mixed two tablespoons of Arm and Hammer Washing Soda with two gallons of warm water. I then stuck a piece of steel into the water that I don't care about, and connected the positive battery charger clamp to it. I ground a small area of the battery box clean and clamped the negative clamp to it and dropped it into the water (being careful to not allow the two pieces of steel to touch. This shot is after about one minute in the solution: 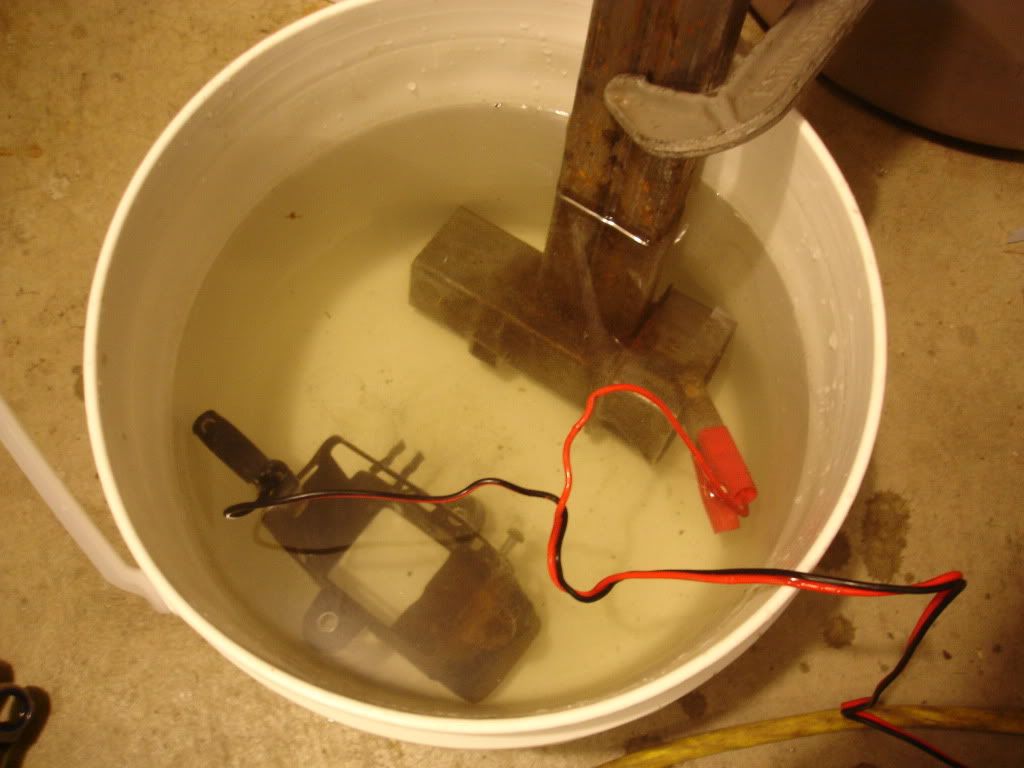 This is after about 10 minutes: 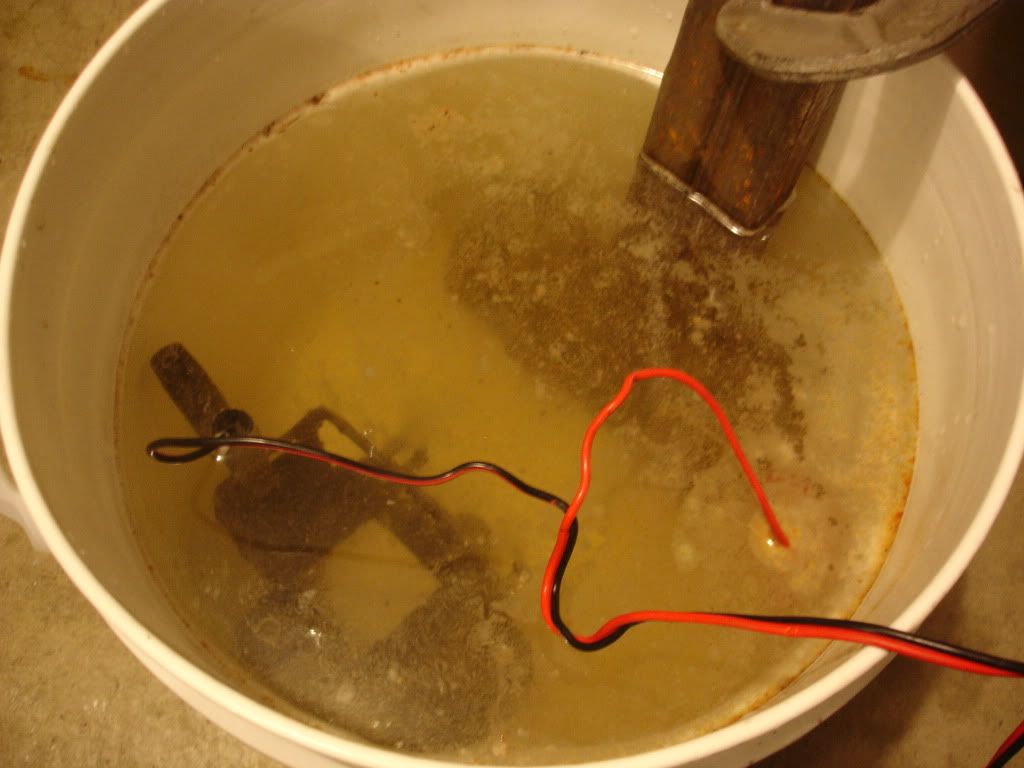 I then removed the battery box and noted that most of the rust was gone, and the remaining paint was bubbled. I wiped the remaining paint off and stuck it back in the solution for another 10 minutes. Here it is with the bubbled paint: 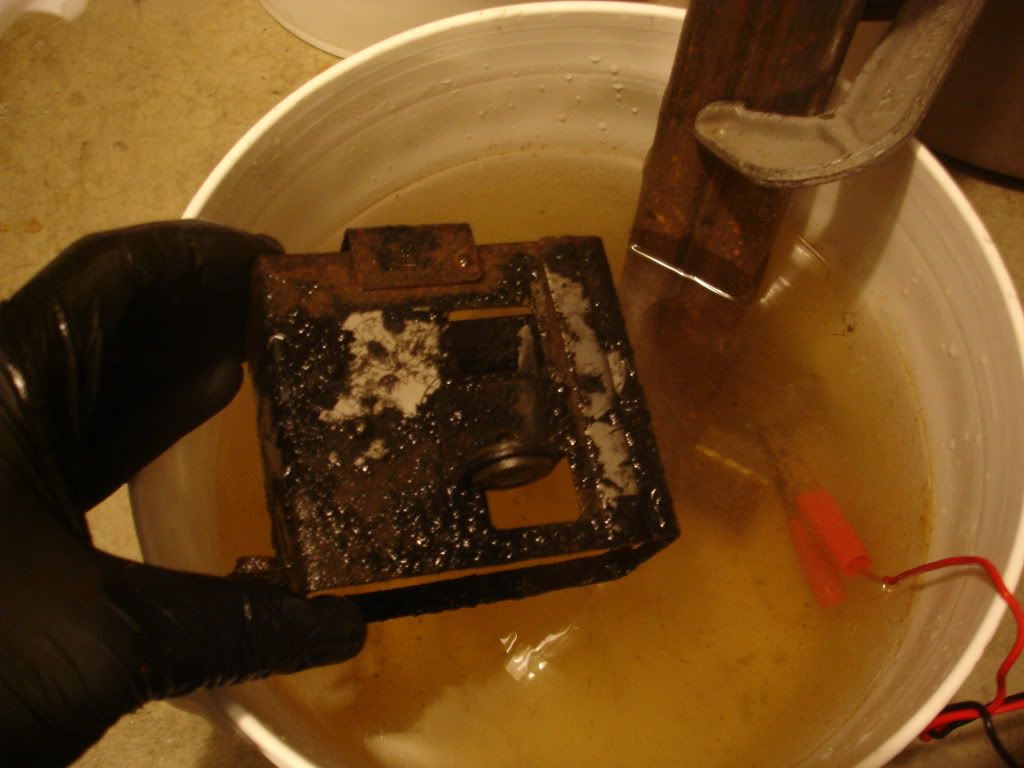 Here's what it looked like after the final bath: 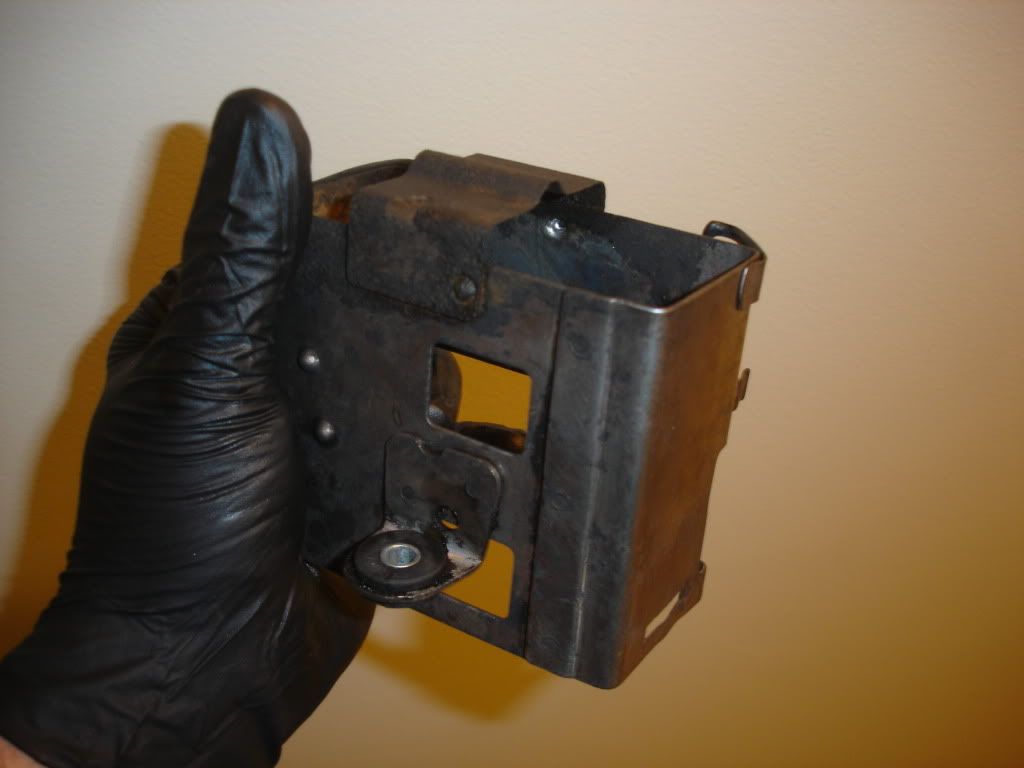 I dried it thoroughly and set it on the hot water tank for the night. I'll slather it with anti-rust paint next time. Getting closer to a complete bike.
__________________
Weldangrind "I figure I'm well-prepared for coping with a bike that comes from the factory with unresolved issues and that rewards the self-reliant owner." - Buccaneer |

|
|
|
#59 |
|
Join Date: Mar 2007
Location: Abbotsford, BC, Canada
Posts: 4,880
|
Good progress

__________________
"Be excellent to each other" "We are all human. Let's start to prove it!" |

|
|
|
#60 |
|
Join Date: Mar 2009
Location: Southeastern Washington desert
Posts: 14,761
|
Great post Weld! I continue to learn so much from you! :idea:
I love the penny in the spring trick! I have to install The Dirt Rat 2's kickstand and spring tonight I'll use that tip! :idea: The electrolytic de-resting technique contines to impress me. :idea: I know what a job it is to paint a frame and engine! Looks good. I can't wait to see the frame and more pics of the project. I also love your simple and effective seal removal process. Thannks again, Brother Weld!
__________________
Happy to serve. |

|
|
|

|
 |
|
|