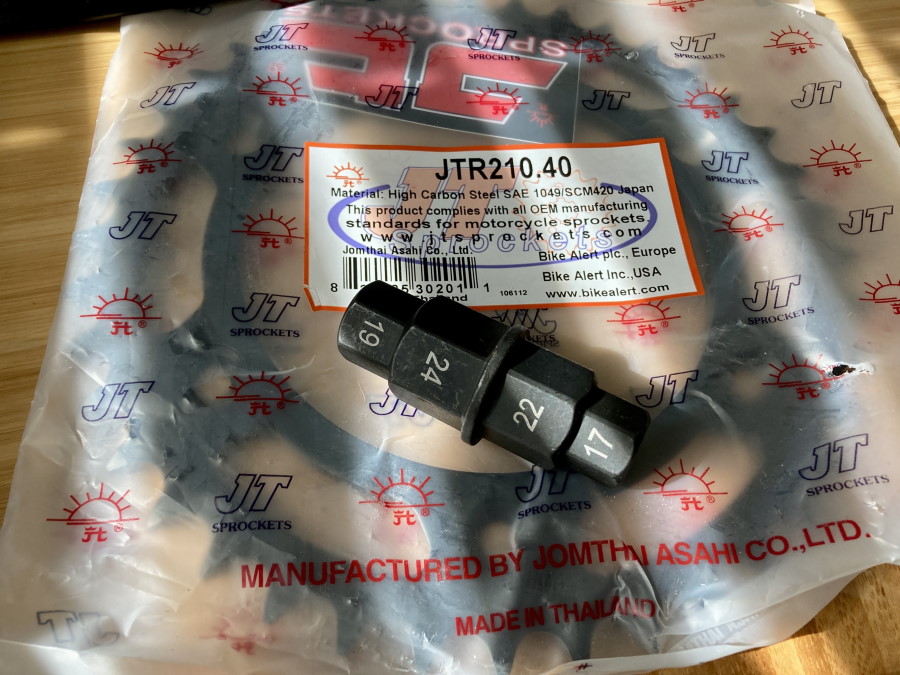
Finally my Motorcycle Wheel Hex Tool arrived. I can finally get that front wheel torqued up to spec. For the moment the nut is on finger tight as I didn't have the 19mm hex to go into that front wheel bolt.
Had to add the sprocket to get free shipping. Might as well grab one of them now to test out. I am not using this for off road, or plan on mostly street so I moved a step taller from preserving off road 1st capability. I won't even start work on this until the bike is broken in. I still have to get a new chain and then master links and chain breaking tools to do this swap.

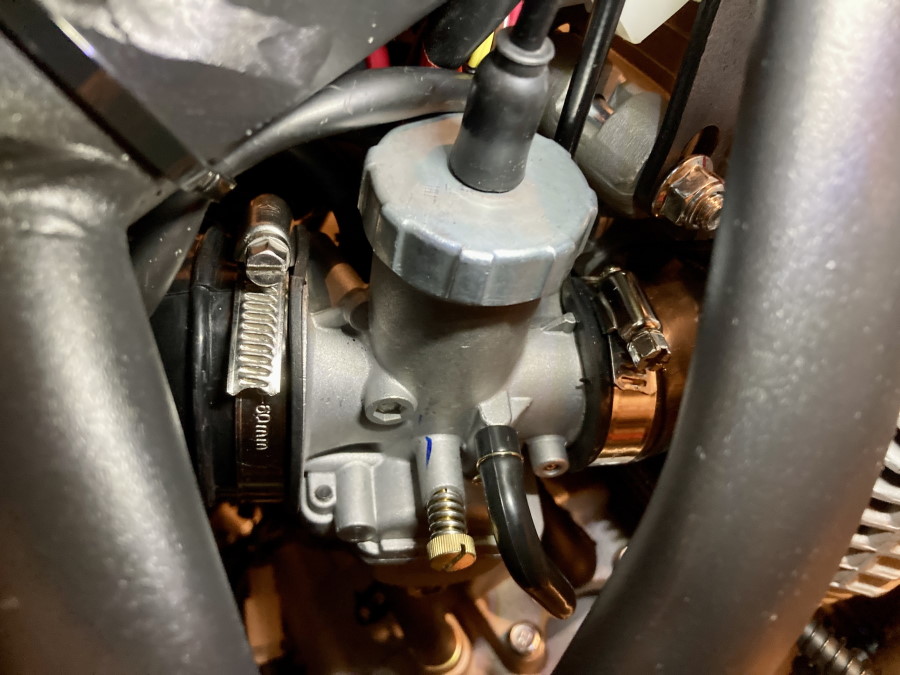
Just so it can be said it can be done. Carburetor has been reinstalled. I tried yesterday and gave up. It was 30s in the garage and low 40s. Try as I might I couldn't get the air filter boot to slip over even with lots of silicone lube spray. Today with a fresh nights rest I borrowed my wife's hair dryer (NOT A HEAT GUN!) and the boot, carburetor and I got acquainted with the loveliest toasty warm conditions to work in.

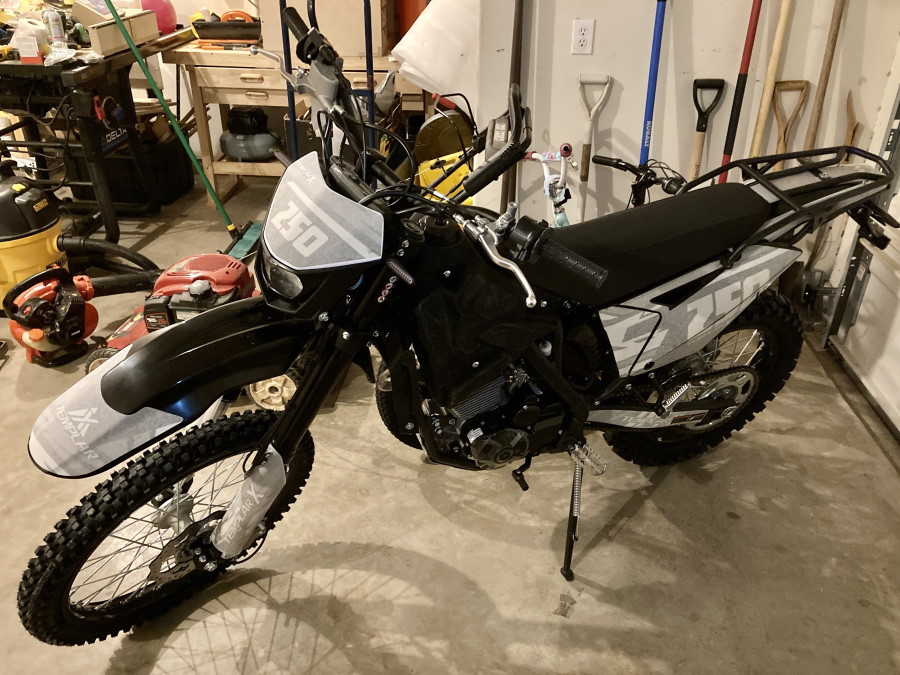
I've now got the tank reinstalled. Who would have thought the fuel tank to carburetor fuel line host clamp and the fuel tank to petcock fuel line hose clamps would be different sizes. I got the tank finally adjusted so the seat could be mounted and all the seat bolt holes lined up. Then I snugged down the tank into that position. I got my new micro-controller battery charger, battery reconditioner and battery tender plugged in and keeping it in good shape. Batteries last twice as long if you plug em in and maintain them when not riding. At the cost of new batteries the 4Amp Viking from Harbor Freight was a bargain.
Now the bike is pretty much done. All that remains is a full PDI and go over every single bolt and torque specs. Then pop the side panels on. Go get some fresh gas and see if it will run.
Front brake hand lever, rear brake foot lever both trigger the rear LED brake light. Right and Left signals work and the correct indicators on front and rear light up for each direction. Digital Dash lights up, gear changes show up on the Dash as does returning to neutral lighting up the large green N light.
Rear brake foot lever doesn't engage until after a large amount of throw, I'll have to adjust that so it engages sooner.
Headlight switch works. On solid dot nothing comes on. On headlight icon the headlight turns on. The Hi/Low toggle switch works. Looking at it in my garage and staring into the headlight it seemed weak to me. A new headlight LED upgrade may be in the future sooner than later. Will need to test at night on the road and see.
Need to install mirrors. Warm the engine, dump the shipping oil and put in its first quart of proper oil. Adjust the chain tension. And whatever other small miscellaneous tasks need to be done.
