 06-07-2012, 07:36 PM
|
#1 |
|
Join Date: Jun 2012
Posts: 12
|
help! Gio 200cc electrical
hey all im new to this so bare with me.
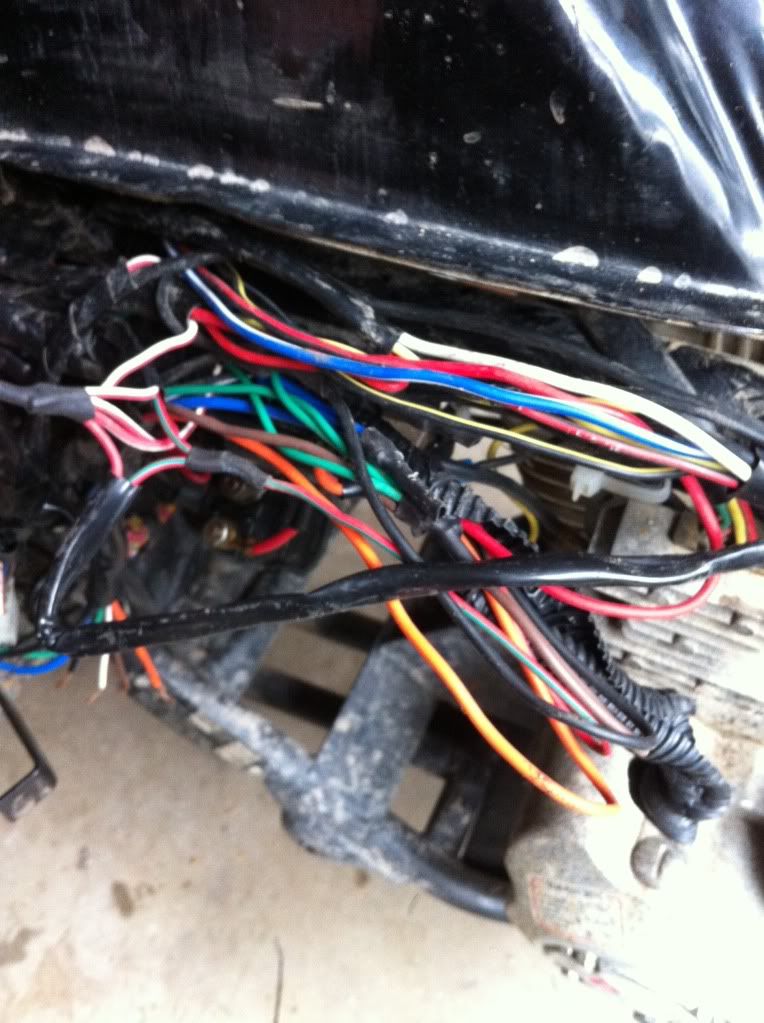
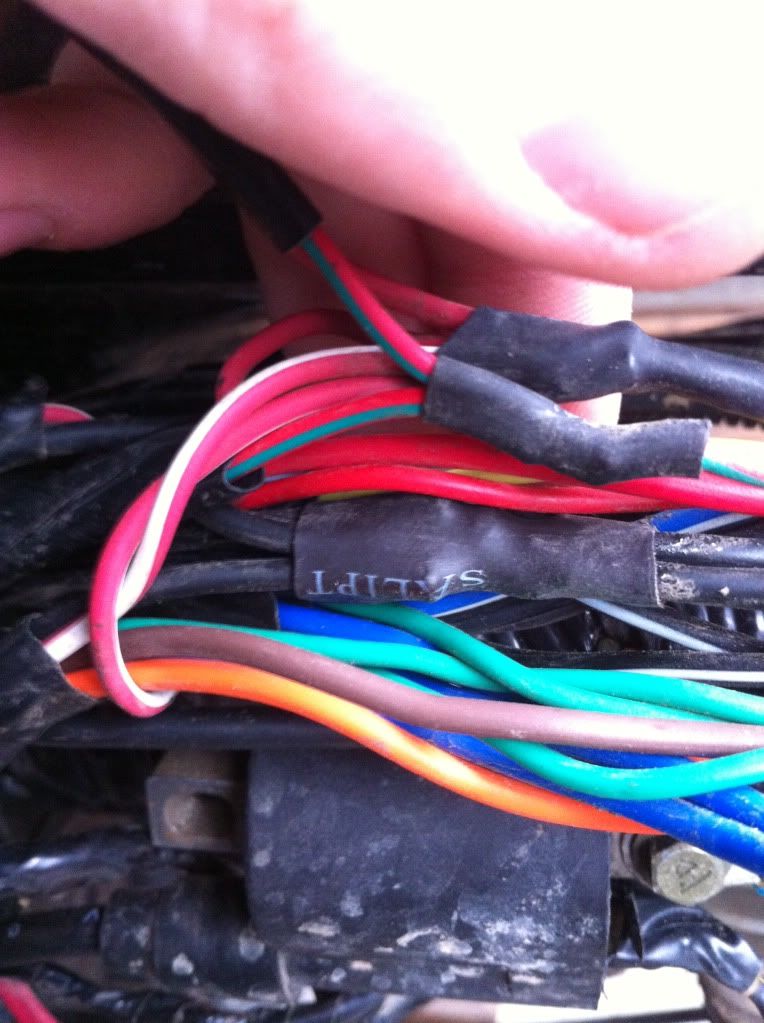
I bought a 2008 gio off a friend and they had cut all the male/female ends off to the ignition, kill switch and cdi. i have had it running with the aftermarket cdi hooked up just by jump starting it, but i want to figure out how to get this wiring properly hooked up. I have bought a new ignition and key and killswitch, but i dont want to buy a new wiring harness for the whole atv i have tryed diffrent wiring diagrams and nothing help so if theres anyone who can give me any sulotions please do. Heres a picture of the quad all striped down.  Kill switch i bought. 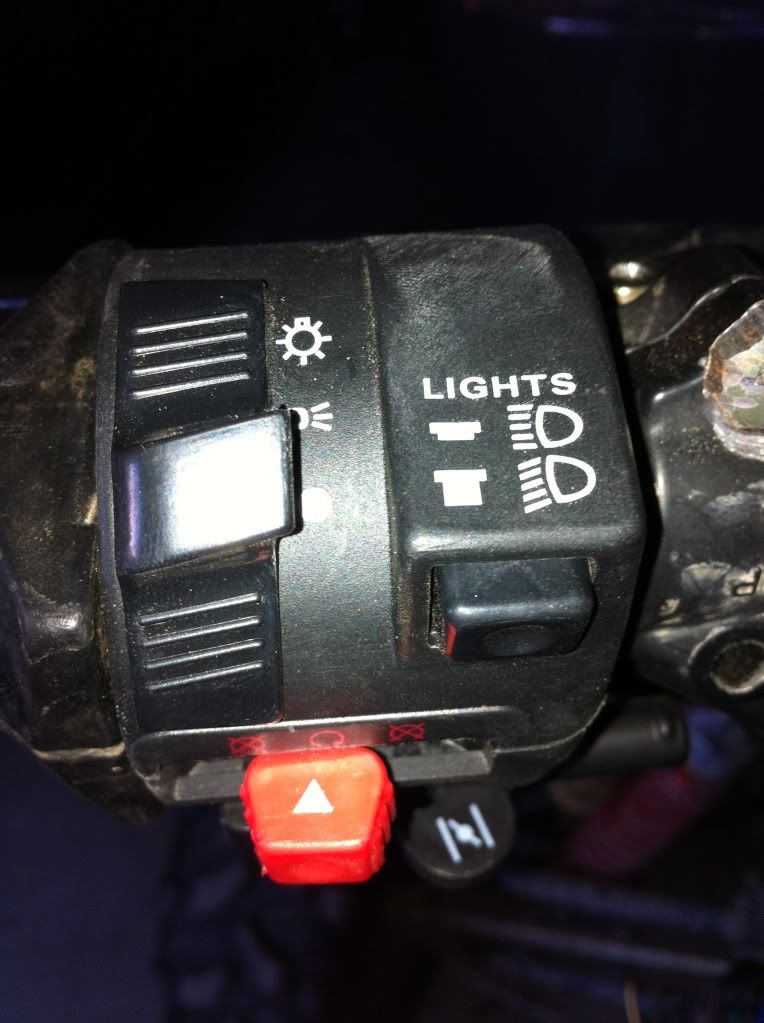 Heres the wires of the kill switch i bought. 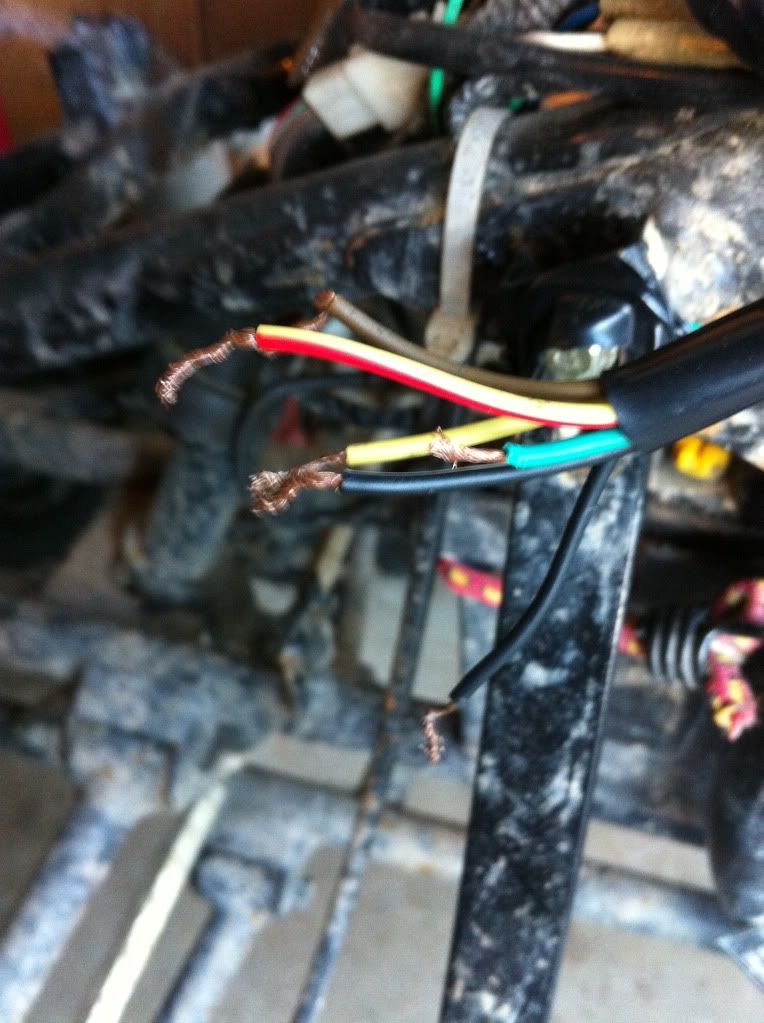 Heres the kill switch wiring off the atv. 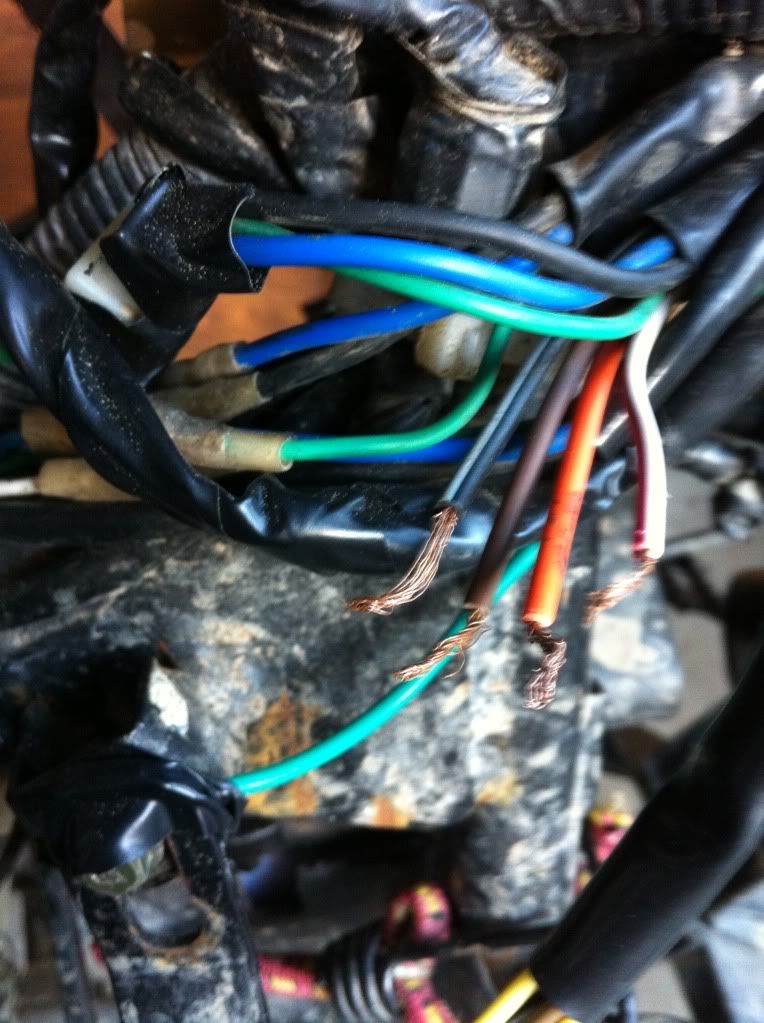 If anyone know's how thos wires properly hook up it will be so much of a help thanks |

|
|
06-08-2012, 11:02 AM
|
#2 |

Join Date: Mar 2009
Location: Sardis, BC, Canada
Posts: 25,977
|
Welcome!
That's a really tall order. Even when they were new, the wires often changed colours as they jumped from one connector to the other. Start by taking your time with the existing wiring harness. Follow each of the wires, figure out where they go, label them and tell us what you've found. From there, we can guide you towards connecting them to the kill switch. BTW, the reason most people hacked the kill switch off is that they didn't understand it. It's actually a motorcycle signal light switch in disguise, and the left or right signal positions will kill the engine, while pressing the button in once will allow the engine to start again. If you didn't realize that you had to push the button in, it would never run again. That caught most of us around here.
__________________
Weldangrind "I figure I'm well-prepared for coping with a bike that comes from the factory with unresolved issues and that rewards the self-reliant owner." - Buccaneer |
|
|
|
06-08-2012, 04:32 PM
|
#3 |
|
Join Date: Jun 2012
Posts: 12
|
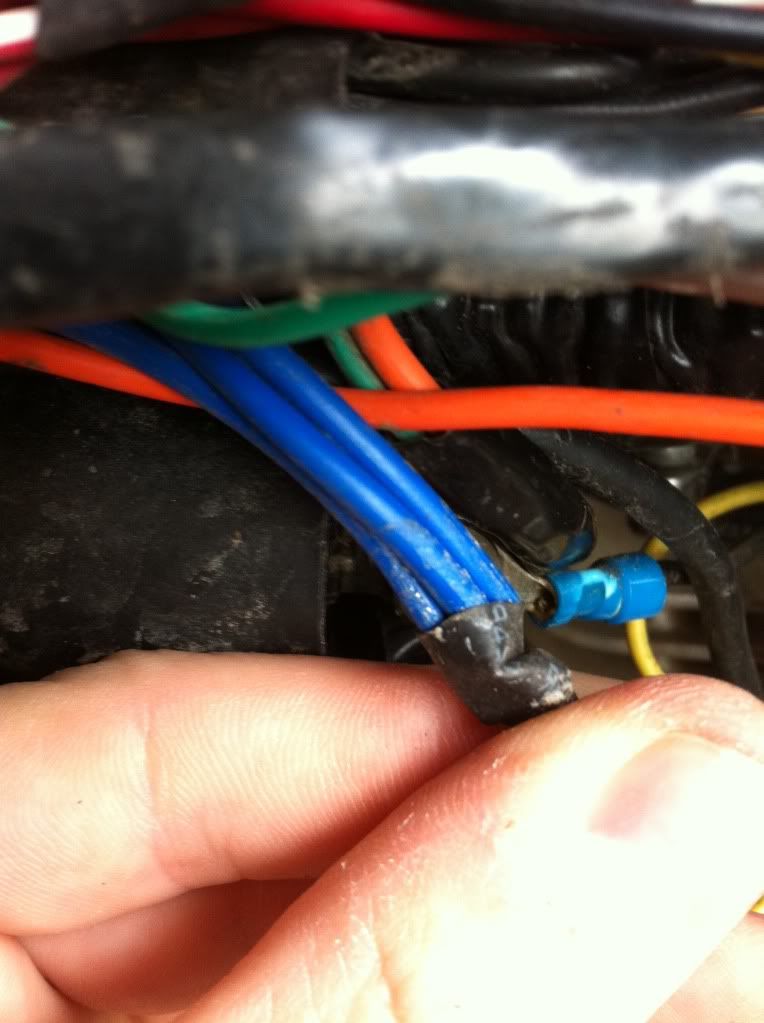
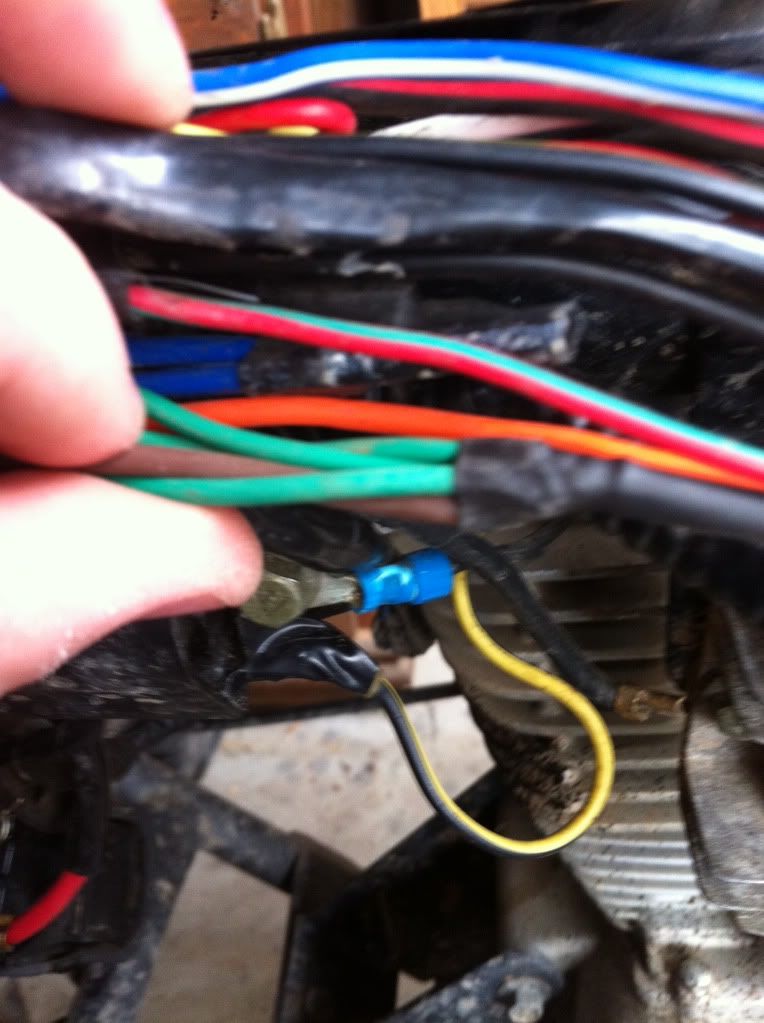
hey thanks for the reply, in the picture were its the wires coming off of the atv they did leave one connector, its for half of the killswitch the blue, green, black wires you see to the left, i will try and trace the rest of the wires, what a mess this thing is.
|
|
|
|
06-08-2012, 07:25 PM
|
#4 | |
|
Join Date: Mar 2012
Location: Trail - B.C. - Canada
Posts: 158
|
Quote:
I typically don't use the kill switch and just use the key.
__________________
 I started out with nothing and I still have most of it left. Pocket Bike Canada is a deceitful retailer. Stay away from them. |
|
|
|
|
06-09-2012, 10:56 AM
|
#7 |
|
Join Date: Mar 2009
Location: Sardis, BC, Canada
Posts: 25,977
|
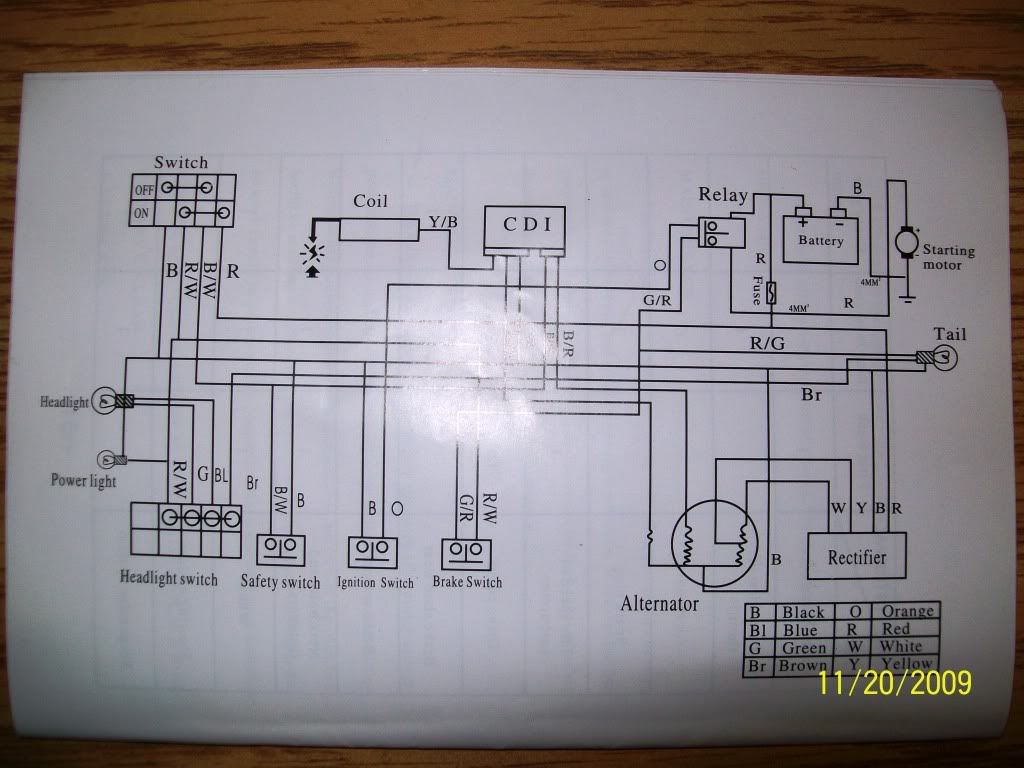
Awesome pics; they're very clear. Can you tell us where each cut wire goes? Also, where did you get that wiring diagram from? Are you convinced that it applies to your quad?
BTW, now is the time to adjust the valves while the body is off. It takes some wiggling, but the valve cover will move out of the way enough to access both valves.
__________________
Weldangrind "I figure I'm well-prepared for coping with a bike that comes from the factory with unresolved issues and that rewards the self-reliant owner." - Buccaneer |
|
|
|
06-09-2012, 12:26 PM
|
#8 |
|
Join Date: Mar 2012
Location: Trail - B.C. - Canada
Posts: 158
|
Not completely sold that this is for the 200cc.
If I am not mistaken the 200cc has a 6 wire cdi the diagram only shows 5 wires. There is also no wiring for the fan that is in the beast.
__________________
I started out with nothing and I still have most of it left. Pocket Bike Canada is a deceitful retailer. Stay away from them. |
|
|
|
06-09-2012, 01:48 PM
|
#9 |
|
Join Date: Jun 2012
Posts: 12
|
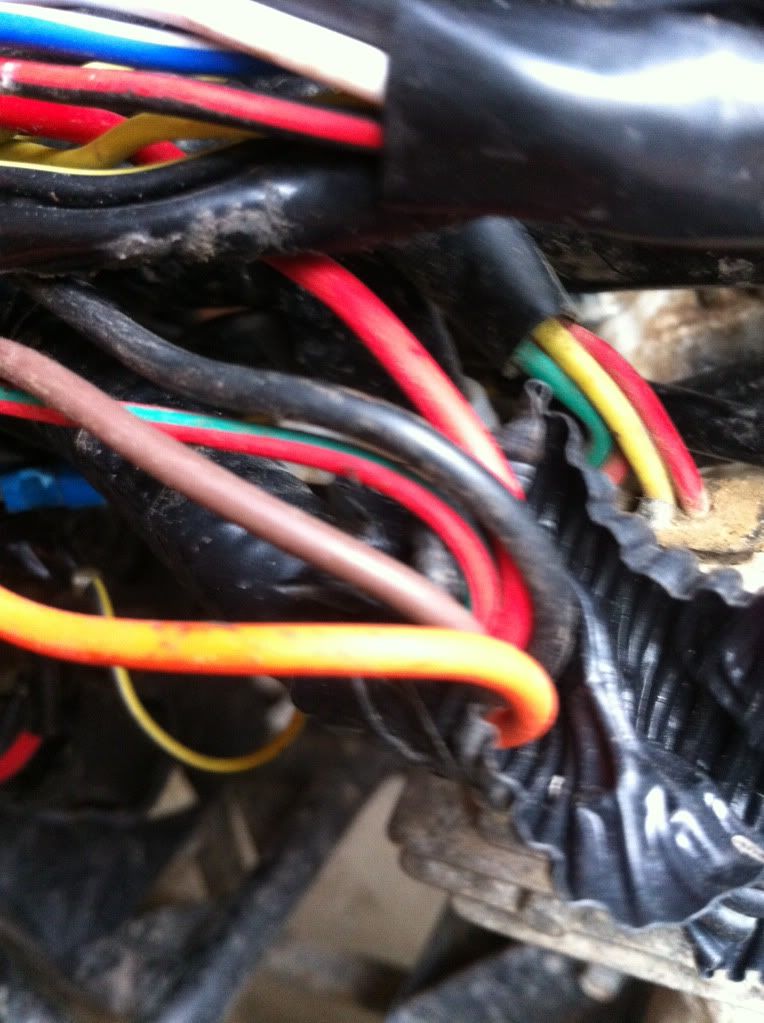
hey guys thanks for all your help, i am gunna try and follow thos wires and label them, alot of them are 4 wires that turn into 1. Its such a mess of wires its a chore, but i am determined!
that wiring diagram said its from a 200cc gio but that's why i posted it because you guys know what your talking about i dont haha thanks again! BIG HELP. i will post more stuff soon. |
|
|
|
06-15-2012, 08:20 PM
|
#12 |
|
Join Date: Mar 2012
Location: Trail - B.C. - Canada
Posts: 158
|
The wiring diagram is a hard one to find. It would seem no one has it.
The only other way for us to help you is to start ripping apart our own rides. To tel ya the truth there is little chance anyone is going to start ripping out their harnesses to cross reference for ya. I feel bad for you that your machine is in such a state but my Beast is less than a month old and I sure don't want to go ripping up the wiring already.
__________________
I started out with nothing and I still have most of it left. Pocket Bike Canada is a deceitful retailer. Stay away from them. |
|
|
|
06-17-2012, 04:47 PM
|
#14 |
|
Join Date: Mar 2009
Location: Sardis, BC, Canada
Posts: 25,977
|
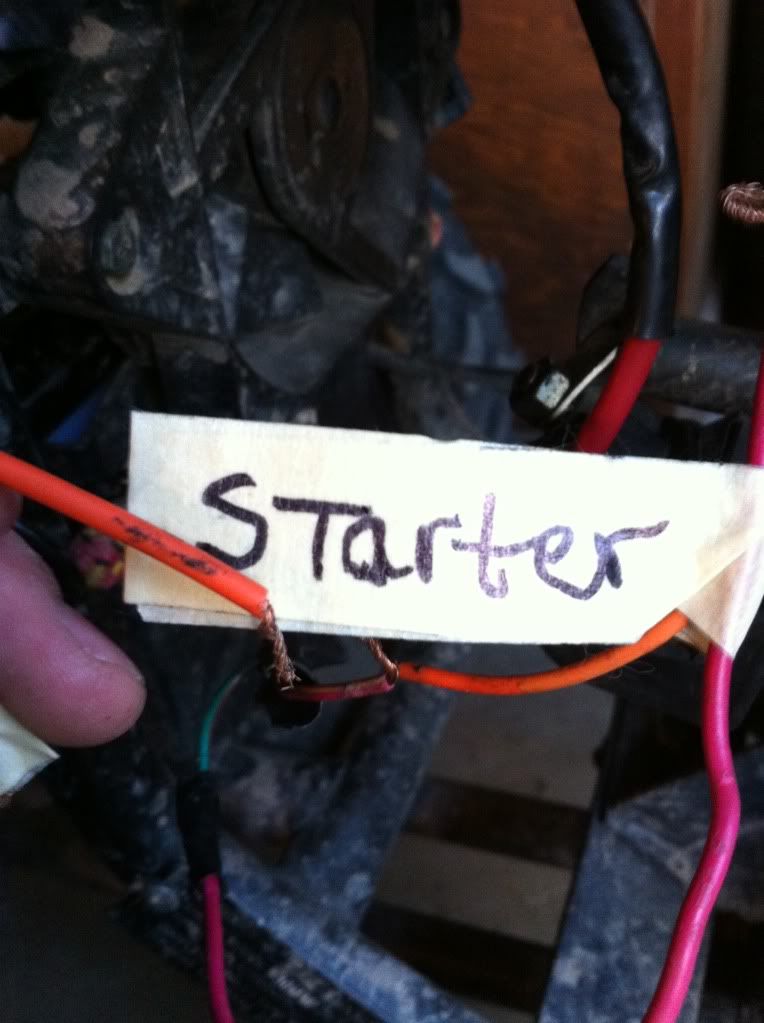
You've already labeled the wires and completed the hard part. Now you just need to figure out which wires of the switch to connect.
Start with a cheap digital multimeter set on continuity, and label each wire (or pairs of wire) as you determine what they do. For example, start probing the wires and press the starter button; you'll eventually figure out which two wires control the starter. Make sense?
__________________
Weldangrind "I figure I'm well-prepared for coping with a bike that comes from the factory with unresolved issues and that rewards the self-reliant owner." - Buccaneer |
|
|
|
|

|
 |
|
|


 some random plug
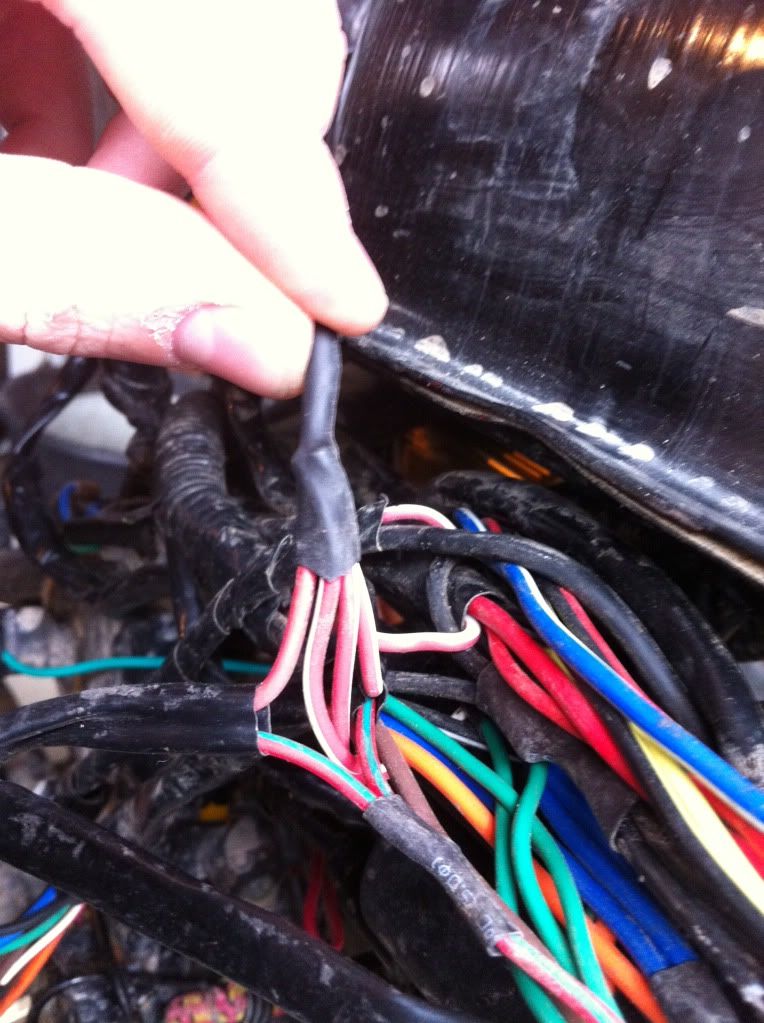
 Orange
 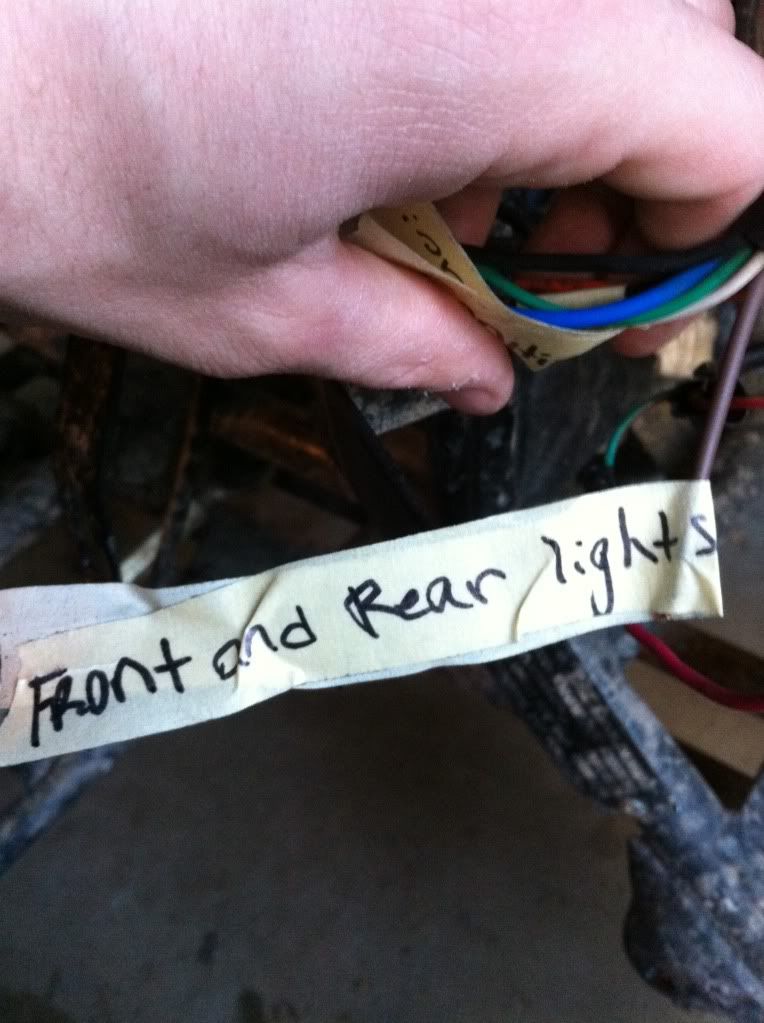 Brown
Brown Red and White
 Black and White
 wanna take it to the trails
 Linear Mode

