|
|
#1 |
|
Join Date: Mar 2009
Location: Sardis, BC, Canada
Posts: 25,977
|
Beast Rear Axle Service
Having just rebuilt the rear axle on TurboT's Beast, it seemed like a good time to provide a report.
The original sealed bearings were totally trashed, to the point where you could no longer rotate the axle housing by hand. Here's a shot of the ugly bearing and seal: 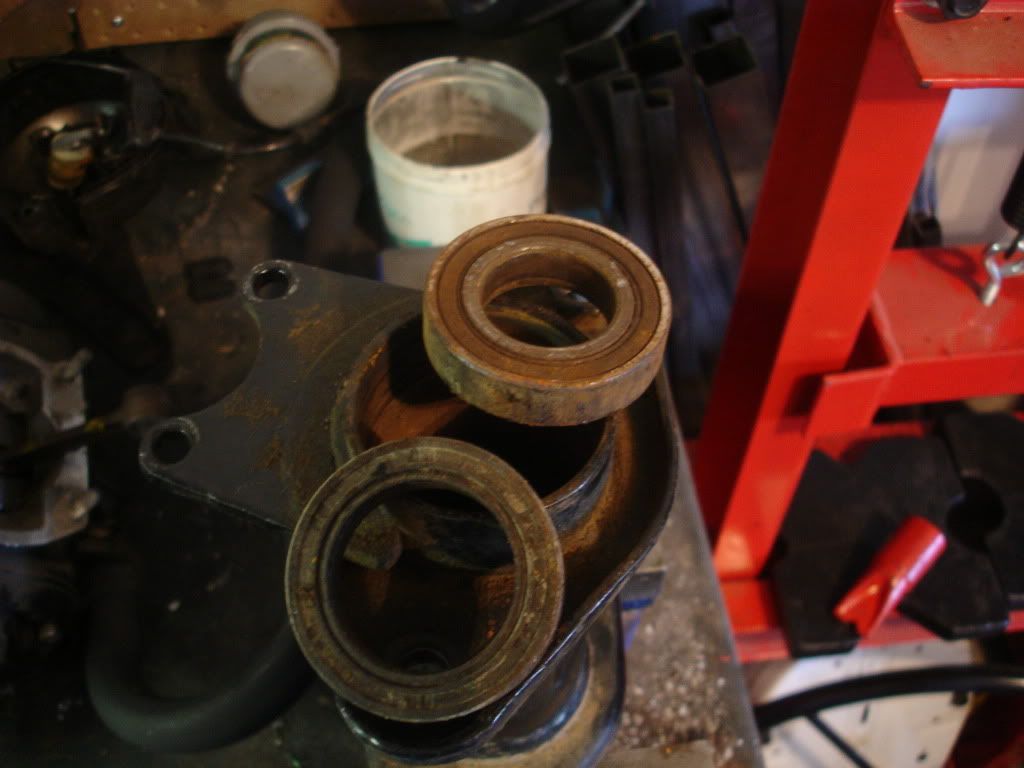 The rear axle was removed and dismantled; the bare housing has a step that accomodates the sealed bearing: 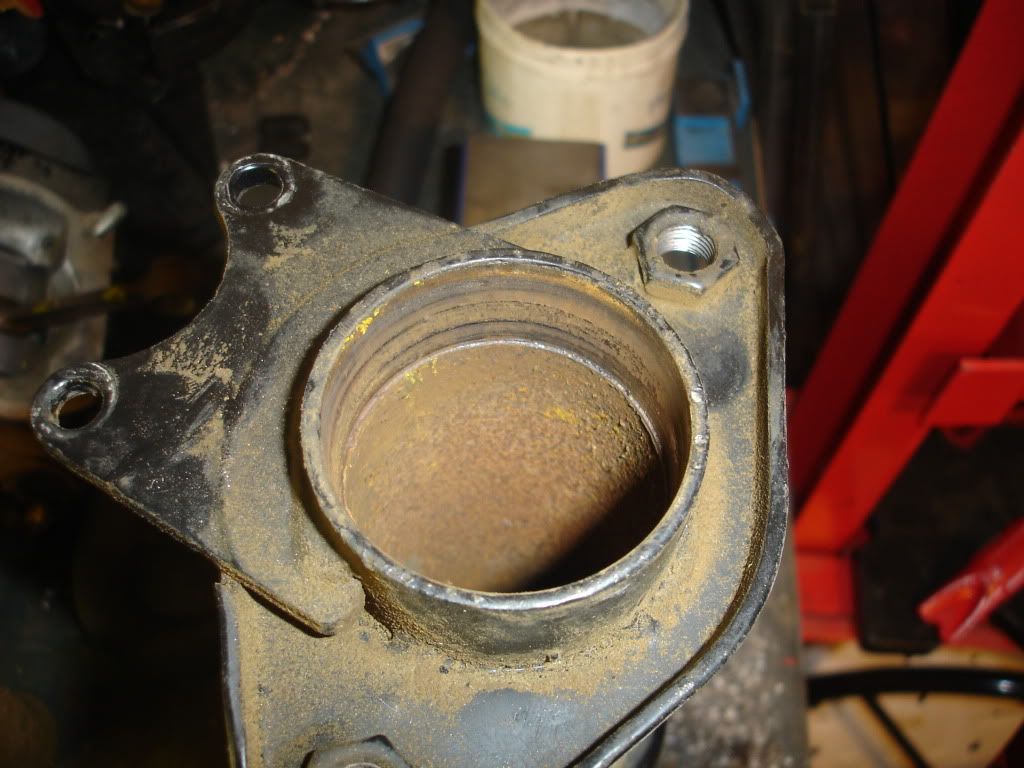 Due to that step, the spacer tube that was installed in the factory is not needed, so into the scrap bucket it goes: 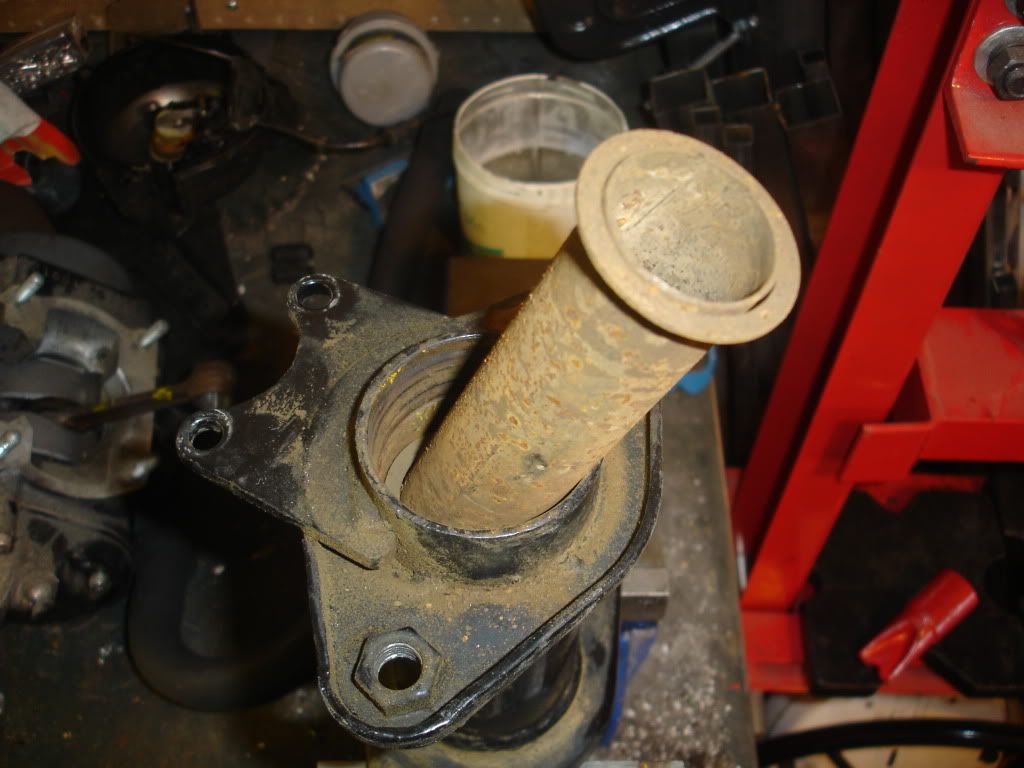 Before installing new parts, a hole is drilled in the housing to accomodate a zerk. The new zerk I used has 1/4-28 threads, so I used a #3 bit to drill the proper size for the tap. A #3 bit is 0.213", which is just a hair over 13/64. It's totally worth it to buy the proper bit and tap if you plan to install any zerks. Here's the tap threading the new hole: 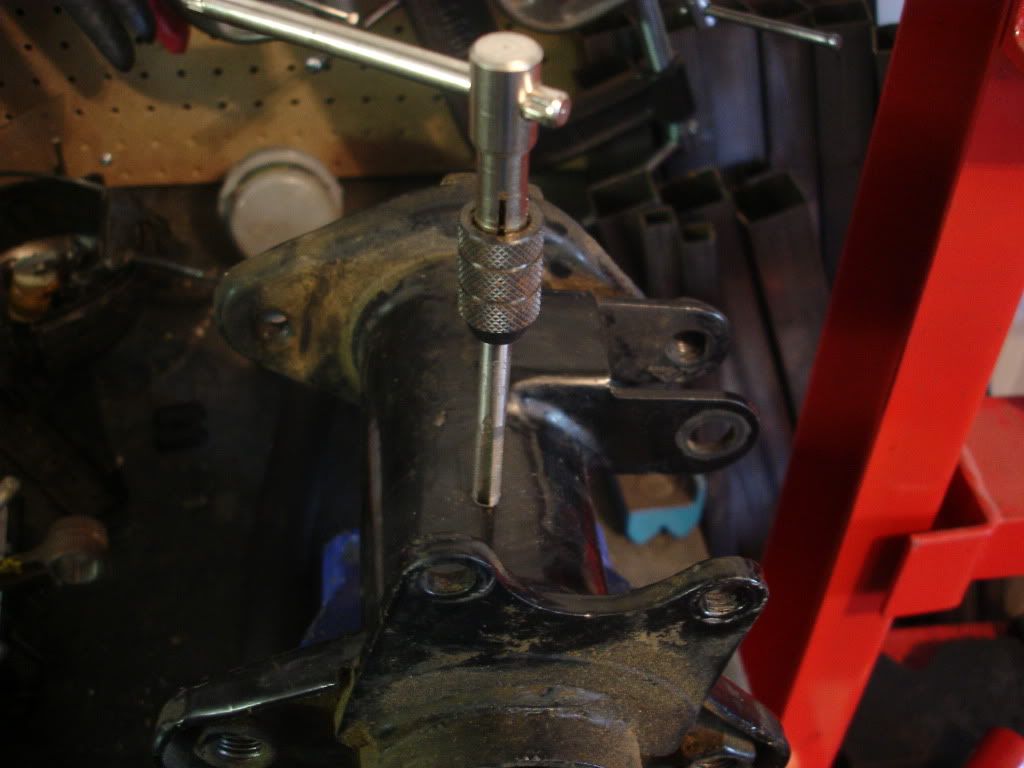 Here's the new zerk: 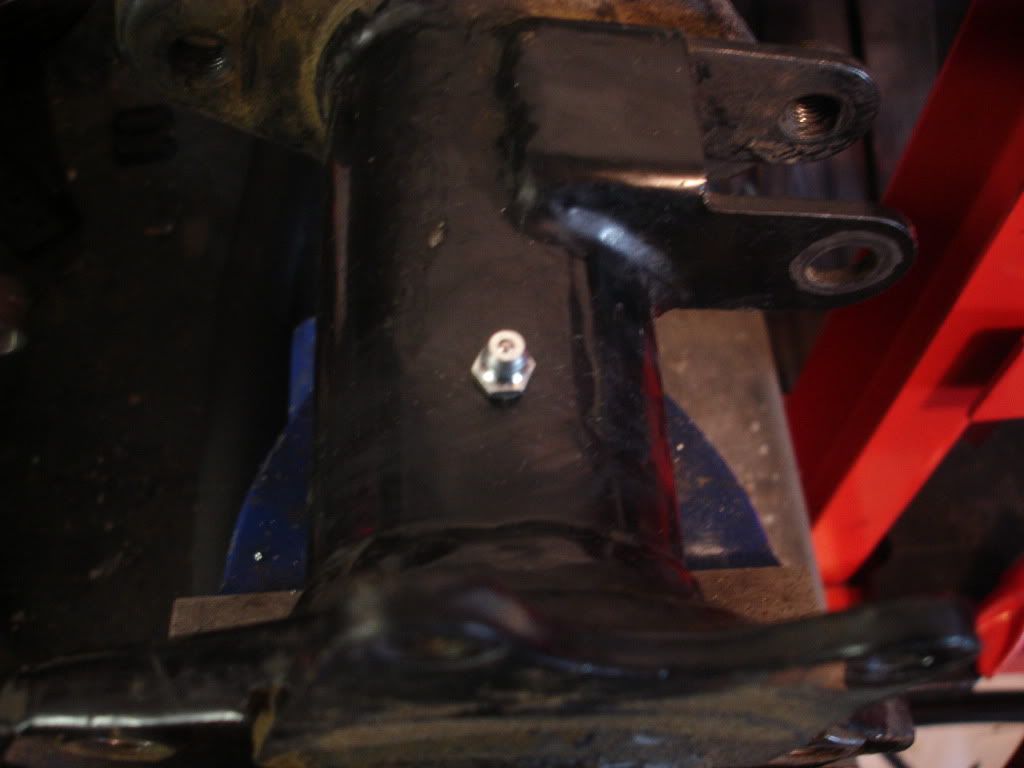 The new bearing is a much higher quality Japanese bearing, and it fits perfectly in the housing. You can see how I cleaned the bearing and seal surface in the housing with some fine emery cloth. Here's the installed bearing: 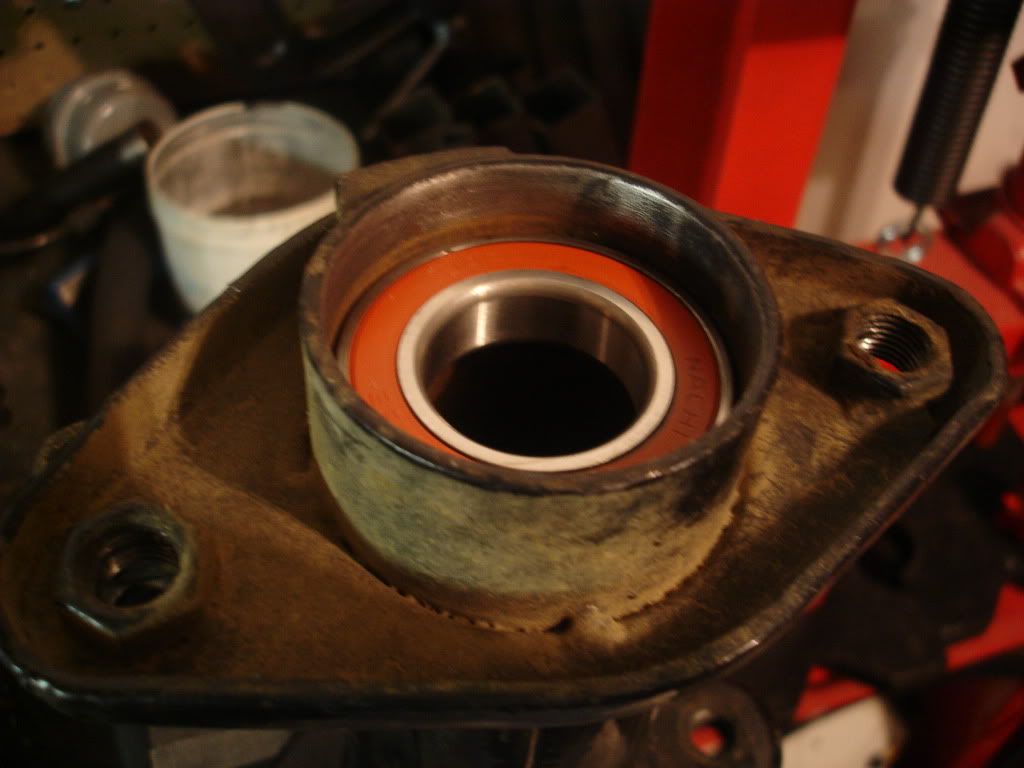 This is the bearing part number: 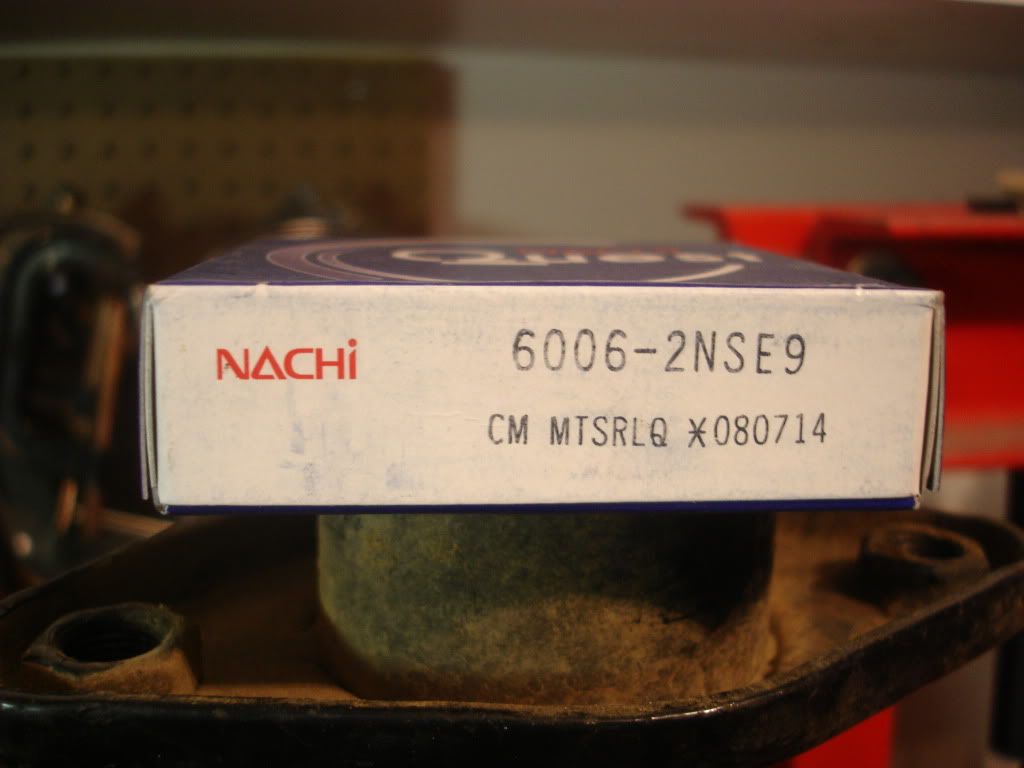 The seals I used are 38mm ID and 55mm OD; the width isn't really critical (I used 10mm). One axle I dismantled had 12mm seals, and the other one had 8mm. I use whatever the bearing shop has in stock, although the actual space is about 11mm, once the bearing is installed, so 10mm is a good choice. Here's one seal prepped with grease and one awaiting grease: 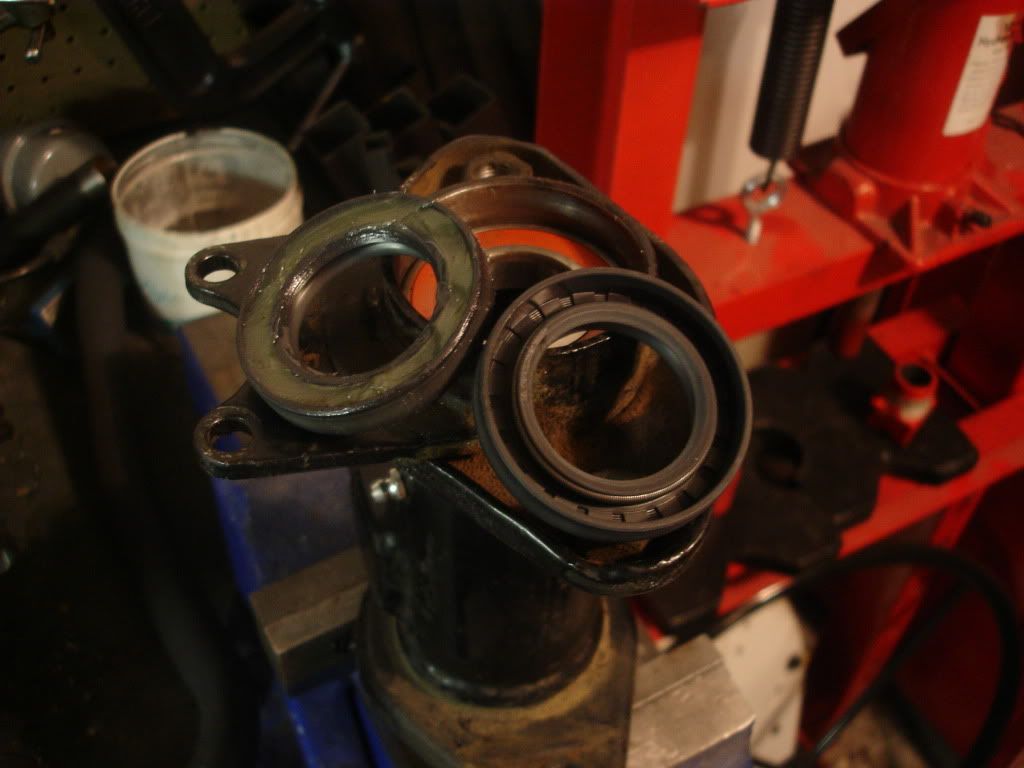 This is the seal installed: 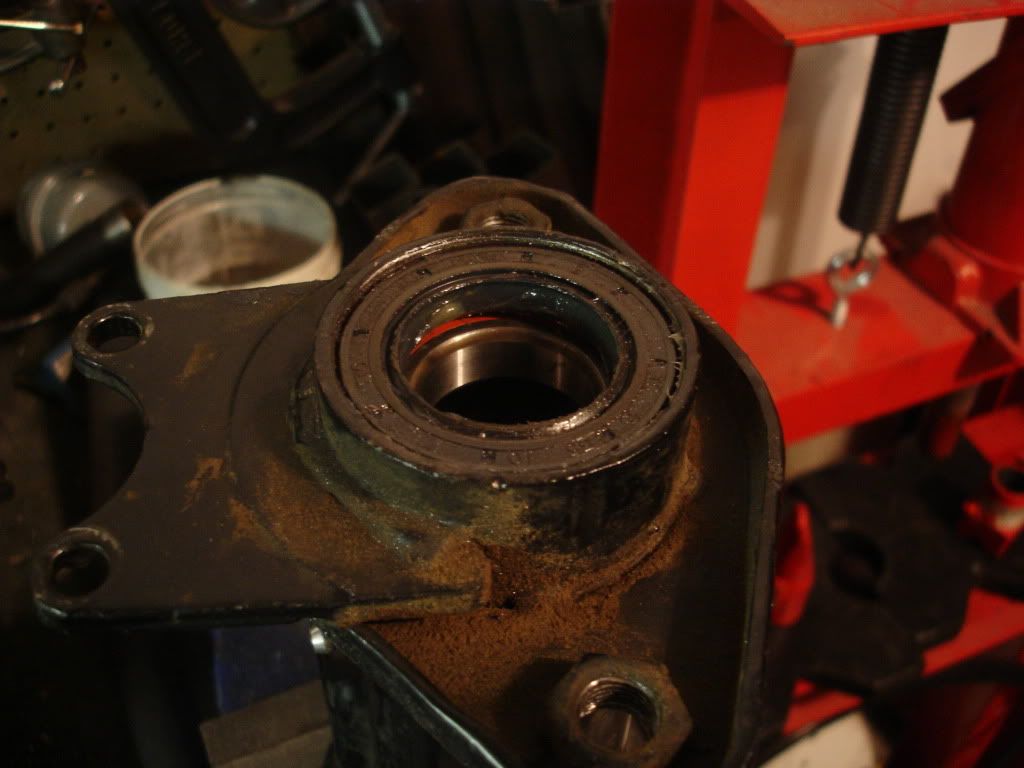 TurboT and I find it easier to reassemble the axle vertically, with the left side wheel as a base. Here's the bare axle shaft: 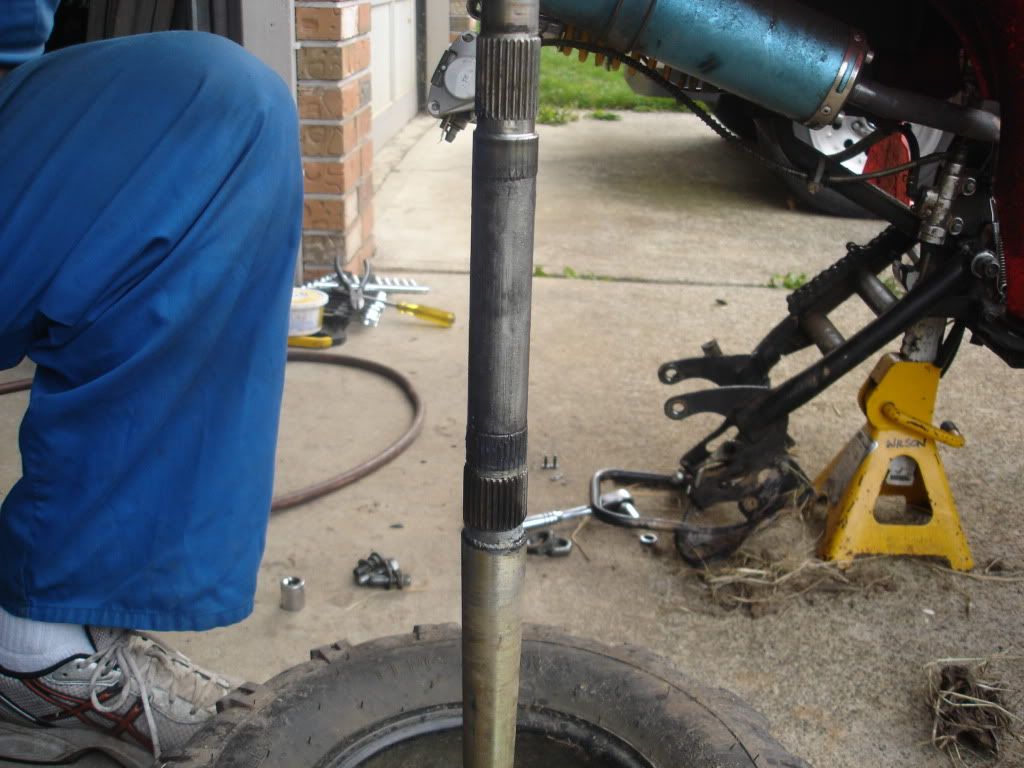 The first part to be installed is the sprocket and hub assembly: 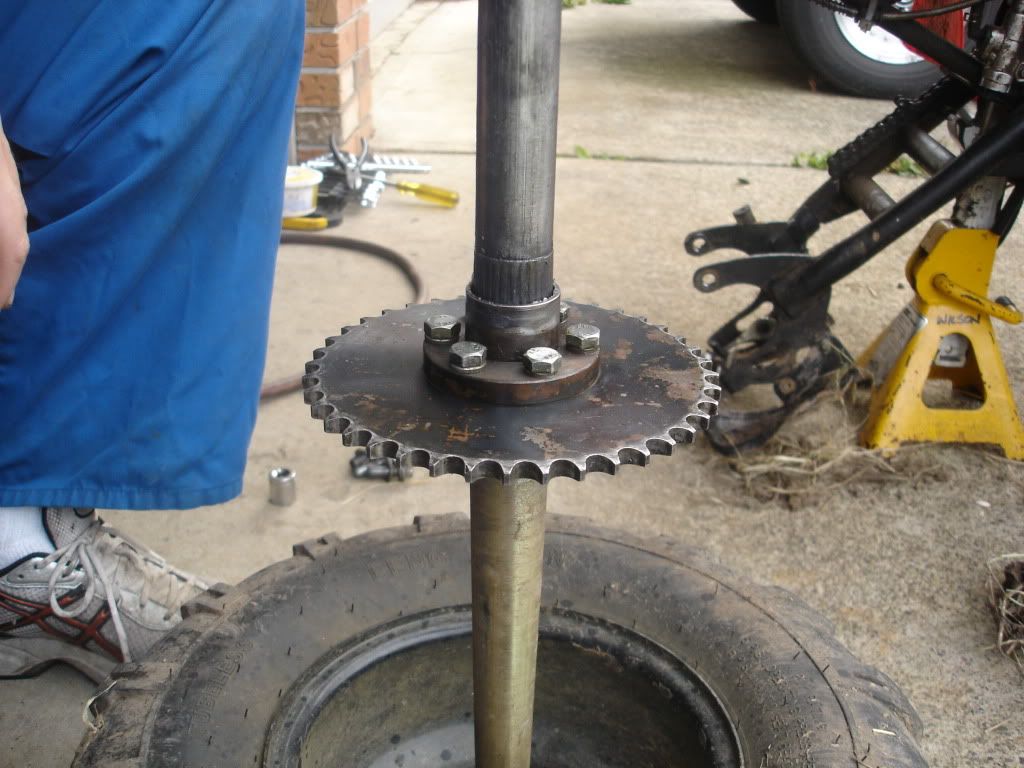 Next, the assembled axle housing is installed: 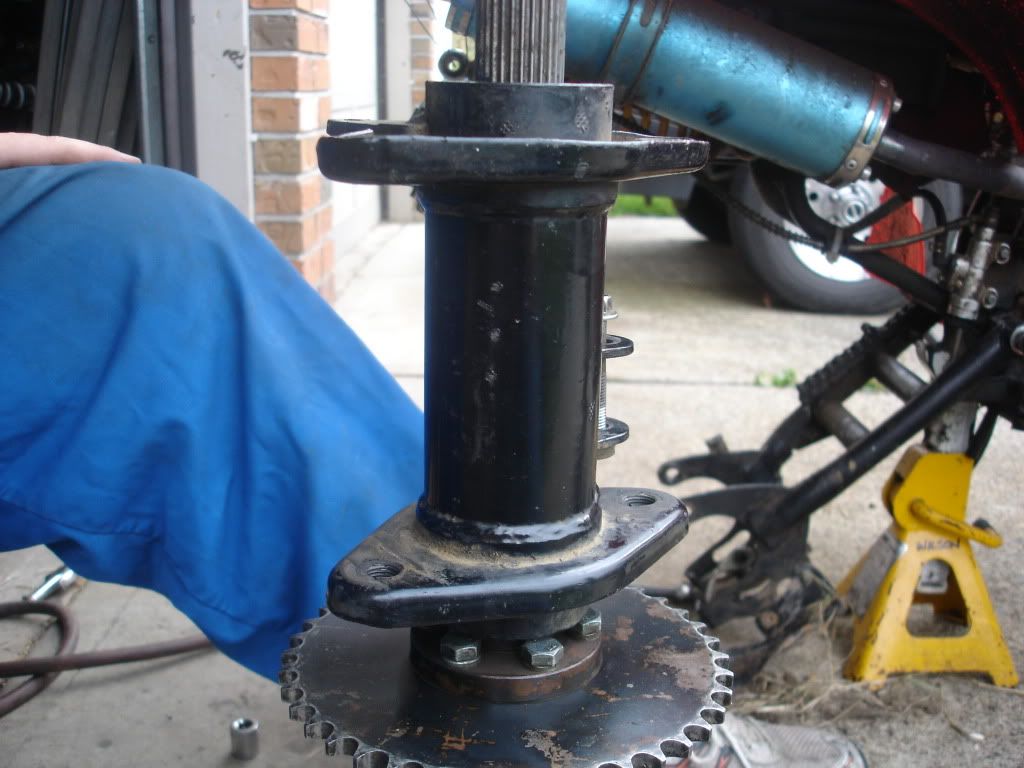 Then the rotor and hub assembly, followed by the two jam nuts: 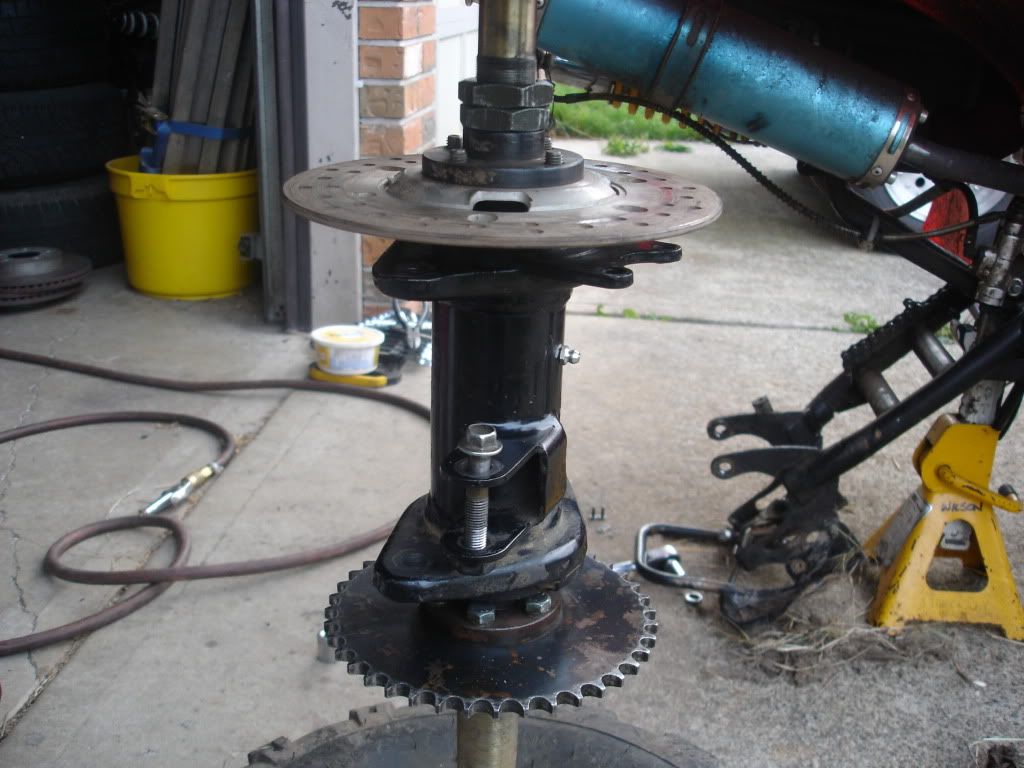 We tighten the first jam nut against the rotor hub until all play is removed, yet the housing still rotates smoothly. We then tighten the second jam nut against the first, and then re-check the housing. After the whole deal is done, connect a grease gun to the zerk and fill the entire housing with grease to keep water out. Your new bearings should live a long and happy life. At the time of this writing, two seals and two sealed bearings were about $30 including tax.
__________________
Weldangrind "I figure I'm well-prepared for coping with a bike that comes from the factory with unresolved issues and that rewards the self-reliant owner." - Buccaneer |

|
|
|
#2 |
|
Join Date: May 2009
Location: SASKATOON
Posts: 1,161
|
wheel bearings posting
EXCELLENT POST... I have a T3 that they welded crooked.. there is none in stock.. and I have to wait until a BOAT load comes.. update parts really change the operation quality of these atvs.. thanks for the update
|

|
|
|
#3 |
|
Join Date: Aug 2009
Location: London, Ontario
Posts: 1,097
|
Sounds like a winter project for my beast, nice detailed report there W&G, should make it much easier for me.
|

|
|
|
#4 | |
|
Join Date: Aug 2010
Location: austin, tx
Posts: 1,452
|
Quote:
|
|

|
|
|
#5 |
|
Join Date: Dec 2011
Posts: 26
|
hey weld and grind
can you tell me where you bought those new bearings and seals i have checked every reseller that sells nachi bearings and none of them have ever heard of that bearing number |

|
|
|
#6 |
|
Join Date: Mar 2009
Location: Sardis, BC, Canada
Posts: 25,977
|
I bought them at Precise Bearing in Abbotsford; that's where I buy most of my bearings, seals, bushings, fasteners, etc. Terrific little shop.
__________________
Weldangrind "I figure I'm well-prepared for coping with a bike that comes from the factory with unresolved issues and that rewards the self-reliant owner." - Buccaneer |

|
|
|
#7 |
|
Join Date: Dec 2011
Posts: 26
|
is there any other numbers on the bearing box
precise bearing does not show any of those pictured numbers in their NACHI listing or even the bearing dimensions would be helpful inner dimension , outer dimension , shell thickness |

|
|
|
#8 |
|
Join Date: Dec 2011
Posts: 26
|
ooops sorry ! my bad i clicked on the wrong bearing type
found them , i need 1 shield bearings , as i will be using oil inside the carrier so the bearing shield side faces outwards |

|
|
|
#9 |
|
Join Date: Dec 2011
Posts: 26
|
manufacturer and number of those seals please
|

|
|
|
#10 |
|
Join Date: Mar 2009
Location: Sardis, BC, Canada
Posts: 25,977
|
As indicated above, the seals I used are 38mm ID and 55mm OD; the width isn't really critical (I used 10mm). I don't know the manufacturer. I simply hand the seals and bearings to the nice man.
__________________
Weldangrind "I figure I'm well-prepared for coping with a bike that comes from the factory with unresolved issues and that rewards the self-reliant owner." - Buccaneer |

|
|
|
#11 |
|
Join Date: Apr 2013
Posts: 5
|
Just an FYI for anyone doing this in the future, you should NOT remove the spacer as the OP has done. Don't mean to step on any toes here, but that spacer is there so that you do not put excessive preload on the bearings when tightening down your axle. This would lead to premature bearing failure.
|

|
|
|
#12 |
|
Join Date: Mar 2009
Location: Sardis, BC, Canada
Posts: 25,977
|
I would agree, except that the spacer is too short for the housing width. Perhaps I should cut a new one out of DOM.
__________________
Weldangrind "I figure I'm well-prepared for coping with a bike that comes from the factory with unresolved issues and that rewards the self-reliant owner." - Buccaneer |

|
|
|
#13 |
|
Join Date: Apr 2013
Posts: 5
|
Interesting. I just pulled the eccentric rear end apart on my T3, and the spacer is tight against the bearings.. Sounds like they missed the boat on the first gen setup, lol.
|

|
|
|
#14 |
|
Join Date: Mar 2009
Location: Sardis, BC, Canada
Posts: 25,977
|
Yeah, the eccentric style is really cool; I wish mine was like that.
__________________
Weldangrind "I figure I'm well-prepared for coping with a bike that comes from the factory with unresolved issues and that rewards the self-reliant owner." - Buccaneer |

|
|
|
#15 |
|
Join Date: May 2009
Location: SASKATOON
Posts: 1,161
|
BEARING SHIELD
Should you not remove the inside shield on the bearings so the grease can get into the bearing???? and I was also thinking a lot of people think to use real heavy grease... I think a thinner light grease so ti will flow into the bearings and wash out the water that does get pass the seal as it wears on the axles.. just light when you grease your wheel bearings.. flush out the moisture
__________________
DEALER FOR ZSTAR & GIO PRODUCTS, TAOTAO ABIBABA ATV ETC |

|
|
|

|
 |
|
|